
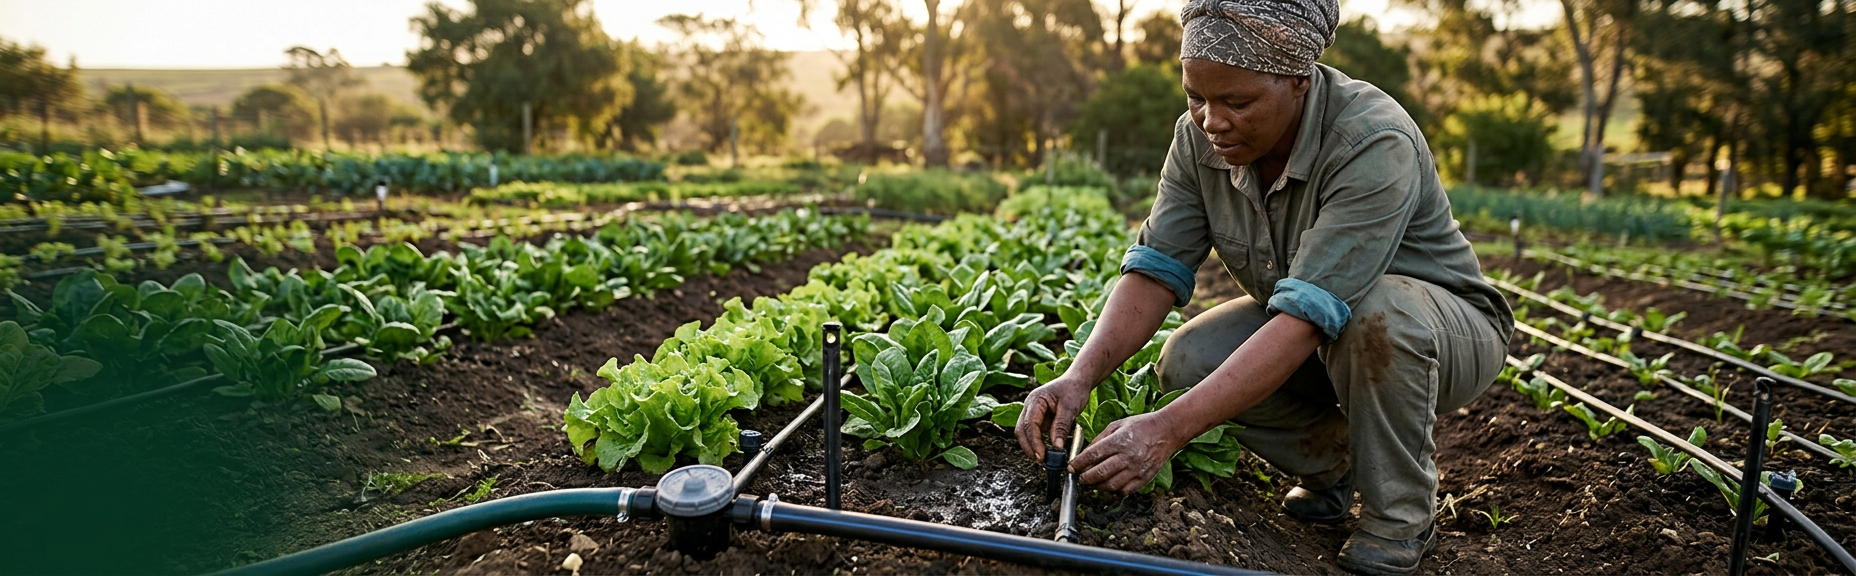
The last dripper can only perform as well as everything before it
Drip irrigation looks simple at the bed: a line, small outlets and water appearing near plants. The reliability is built upstream. An unsuitable connection, missing isolation, dirty filter, wrong pressure, excessive lateral length or inaccessible flush end can turn a precise-looking layout into uneven watering.
A useful design follows the water from source to the final emitter and back through the maintenance routine. This guide shows that pathway for South African home, school, community and market gardens. It does not prescribe universal pipe sizes, emitter spacing or run times; those depend on measured hydraulics, soil, crops, bed geometry and product data.
For design and installation support, see Green Earth Concepts Irrigation Systems.
Design around the bed and the people
Record bed width, length, crop rows, seasonal rearrangement and access. Observe how water spreads sideways and downward in the actual soil. A single dripper may form a narrow wet column in one soil and a broader pattern in another. Root-zone checks matter more than a visually damp spot on the surface.
The source must supply the zone through every component at suitable working conditions. Isolation allows safe maintenance. Backflow protection may be required depending on the connection and jurisdiction. Filtration protects small passages. Regulation may be needed when source pressure exceeds the device range. Valves create hydrozones; flush ends remove accumulated material; accessible joins make repair possible.
Water quality is both a hardware and crop-management question. Sediment can block small passages; dissolved constituents can contribute to deposits; reuse sources may introduce health, salinity or soil concerns. The Department of Water and Sanitation's irrigation-water-quality guidance shows why source characterisation is site and use specific. Testing, treatment and food-safety decisions must be made with competent advice for the source and intended crop—not inferred from water that merely looks clear.
Choose filtration with the irrigation filter guide, then use dripper spacing and wetting pattern to refine the bed layout.
Map the system from source to flush end
- 01
Confirm the source and connection
Verify authority, reliability, flow, pressure, water quality and the proposed connection. Identify isolation and any backflow requirements with the relevant competent person.
- 02
Define hydrozones
Group beds that can share method and schedule. Separate unlike soil, crops, exposure, elevation or operating needs rather than forcing one programme.
- 03
Select serviceable filtration
Match filter type and filtration level to water quality and emitter requirements. Provide safe access, a cleaning routine and a way to manage flush water.
- 04
Manage pressure
Check working pressure at relevant points and use suitable regulation when required. A regulator cannot repair inadequate upstream supply.
- 05
Route mainline and submains
Protect pipe from vehicles, tools, heat, damage and unsafe crossings. Size it from demand, length, elevation and allowable losses—not from habit.
- 06
Lay laterals for the root zone
Choose line position, count, length and spacing using bed width, crop arrangement, soil wetting and manufacturer limits. Keep future crop changes in view.
- 07
Provide flushing and inspection
Terminate laterals with accessible flush points, label zones and make filters, valves and joins reachable without damaging crops.
- 08
Commission before scheduling
Flush, pressure-test, check each emitter or representative sections, measure delivery where appropriate, inspect the wetting pattern and repair defects.
Component, job and failure signal
| Component | Its job | Field warning |
|---|---|---|
| Isolation valve | Stops water for maintenance | Cannot be reached or does not close fully |
| Backflow control | Protects the supply where required | Missing, unsuitable or unverified for the connection |
| Filter | Removes material that threatens emitters | Rapid pressure loss, frequent blockage or dirty downstream water |
| Pressure regulator | Limits downstream pressure within its operating conditions | Misting, damaged parts or inadequate downstream pressure |
| Mainline and valves | Carry and divide zone flow | Large pressure difference, leaks or inaccessible valves |
| Drip laterals | Distribute water along the bed | Uneven output, kinks, excessive length or poor placement |
| Flush ends | Allow removal of accumulated material | Buried, capped permanently or discharged unsafely |
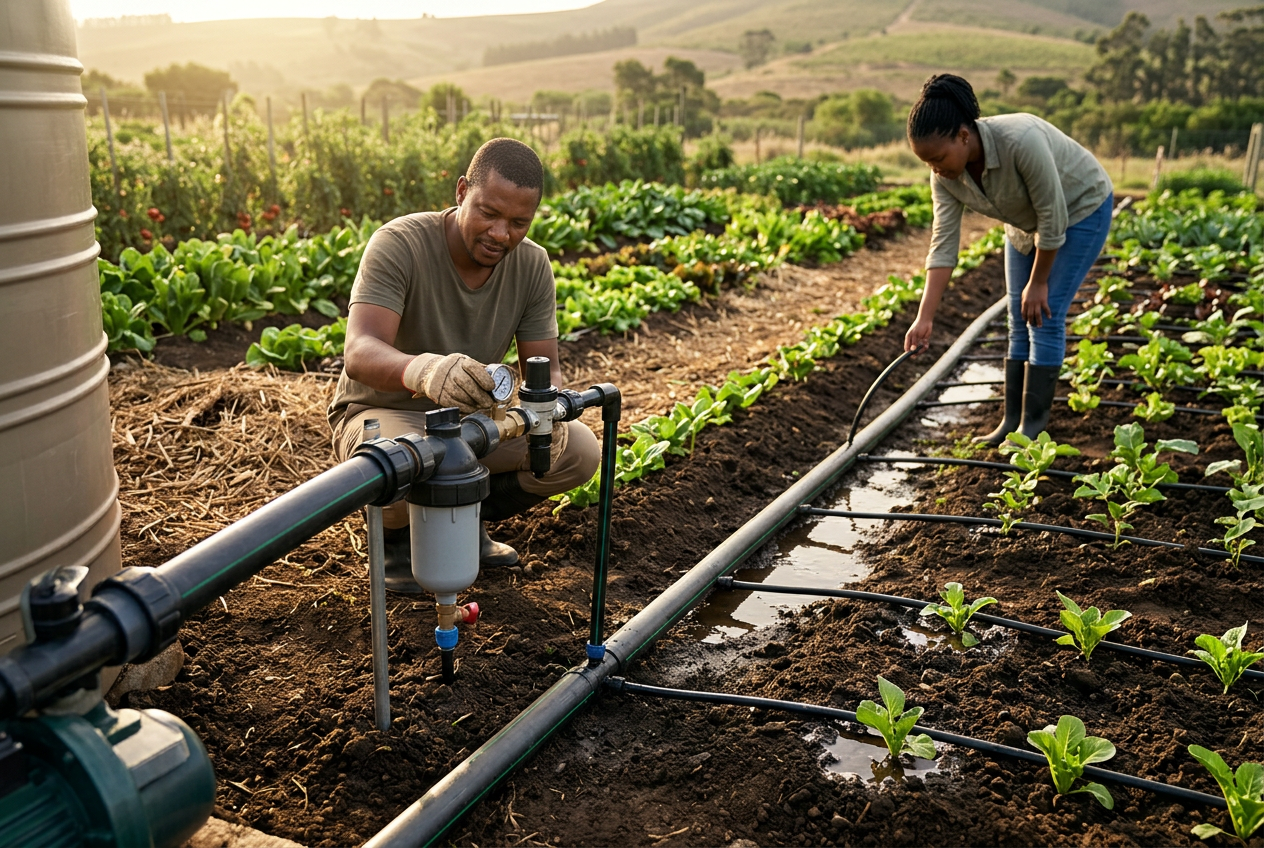
Build for reliable operation
Do
- Use compatible components and current technical data.
- Keep filters, valves, joins and flush ends accessible.
- Inspect the wetting pattern below the surface.
- Train a named operator to flush and find blockages.
Don't
- Punch random holes into pipe as a substitute for emitters.
- Mix unknown drippers or excessive lateral lengths.
- Bury every connection where leaks cannot be found.
- Set one permanent run time for every season and crop stage.
Commissioning checklist
- Source and zone flow are measured under operation.
- Working pressure is checked at strategic upstream and downstream points.
- The filter is clean, correctly oriented and serviceable.
- Lines are flushed before final closure.
- Emitters deliver without visible leaks, kinks or unexplained dry sections.
- Soil wetting is checked at representative locations and depth.
- The operator can isolate, clean, flush and report a fault.
Precision is a system property
- Every upstream component affects the last emitter.
- Layout follows the bed, crop and tested wetting pattern.
- Access for filtration, flushing and repair belongs in the design.
- Commission first; schedule from soil and crop observations second.
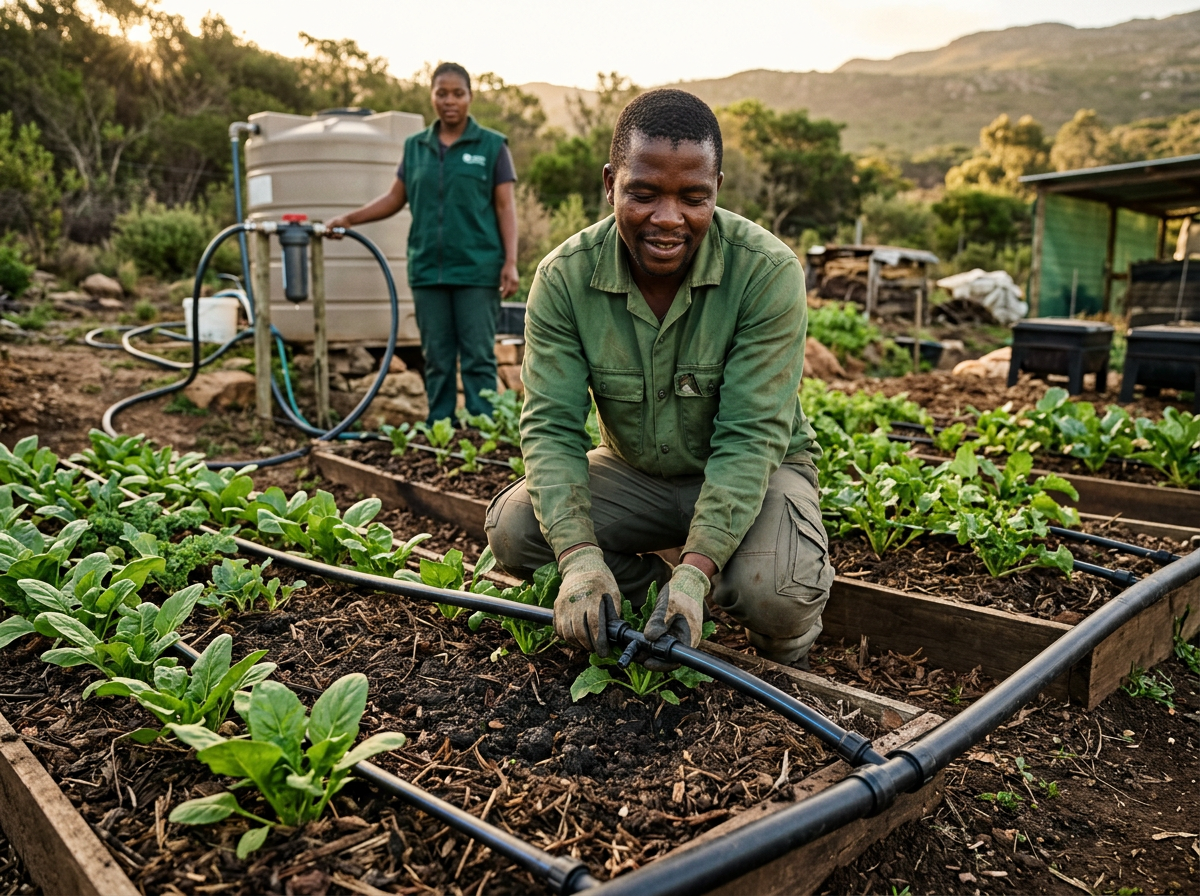
Design drip around your beds and source
Green Earth Concepts can assess the beds, soil, source, elevation and operating team, then design a maintainable path from isolation and filtration to laterals and flush points. Training and commissioning can be included so the system works after handover.
Vegetable drip questions
How far apart should drip lines be?
Spacing depends on bed width, crop arrangement, soil wetting pattern, emitter spacing and pressure. Test representative lines in the actual soil rather than copying one distance from another garden.
Do I need a filter on municipal water?
Water quality and emitter requirements determine filtration. Even treated water can carry material from tanks or pipe work. Follow emitter specifications and assess the complete source and storage path.
Can drip line stay in place between crops?
Often it can, but inspect damage, blockage, placement and compatibility with the next crop layout. Flush and recommission before relying on it for a new season.
Follow the water all the way
A drip system succeeds when suitable water reaches every intended root zone and the team can detect when it does not. Draw every component, protect maintenance access and verify the result in the soil—not only at the tap.