
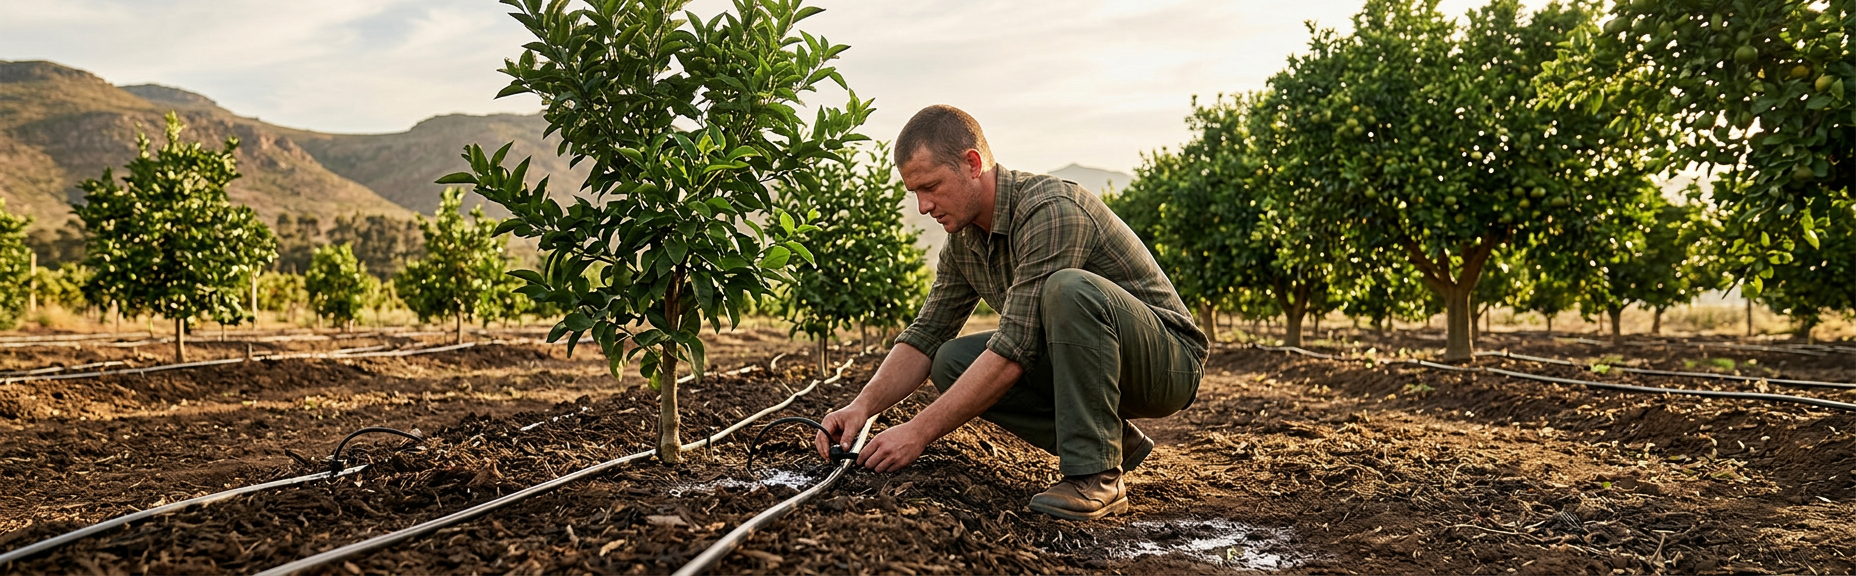
A young tree's irrigation plan has an expiry date
A newly planted fruit tree has a compact root ball and limited canopy. A mature tree explores a much larger soil volume and may carry a crop. Leaving one emitter beside the trunk for years can keep a small patch wet while much of the active root zone receives little. Adding devices at random can overload the zone or create uneven pockets.
Tree irrigation should be designed as a staged system. The wetting area, device count and placement can expand as roots and canopy grow, while flow, pressure, filtration and scheduling remain within the capacity of the block. The exact strategy depends on species, rootstock, soil, climate, planting density, water quality and production goals.
For a site-specific orchard or landscape plan, use Green Earth Concepts Irrigation Systems.
Wet soil volume matters more than distance from the trunk
Point emitters produce three-dimensional wetting patterns. Sandy soil may move water downward more quickly, while finer soil can spread it farther sideways but may accept water slowly. Compaction, slope, layering and previous management complicate the pattern. Dig or probe representative points safely to see where moisture actually moves; the surface stain is not enough.
Keep discharge away from constant contact with the trunk and follow crop-specific advice. Aim to wet a useful, aerated root-zone volume without deep drainage, runoff or a permanently saturated pocket. As the tree grows, planned additional emitters or a wider micro pattern can distribute water more symmetrically.
Scheduling also changes through the season. Weather, canopy, crop load, soil water storage and rainfall all influence demand, while roots still require air. A fixed weekly duration copied from another orchard is weak evidence. Use appropriate monitoring and crop advice, record material changes and review the block after pruning, replanting, heat events, irrigation repairs or a change in water quality.
Emitter inspection should follow a planned route through the block. Check representative high, low, near and far positions, not only trees beside the valve. Record blocked, damaged or displaced devices and confirm repairs with a fresh wetting observation. Refine device number and position with dripper spacing and wetting-pattern guidance, and use orchard and vineyard irrigation planning for block-level decisions.
Design for the next growth stage
- 01
Characterise the block
Record species, rootstock where relevant, age, spacing, canopy, crop purpose, soil variation, slope, exposure and known root restrictions.
- 02
Measure source and zone capacity
Confirm flow, working pressure, filtration and water quality. Reserve capacity for planned emitter additions only when the system can genuinely support them.
- 03
Test the wetting pattern
Run representative devices and inspect moisture at several distances and depths after suitable intervals. Avoid damaging major roots or services.
- 04
Place devices symmetrically
Use a layout that distributes water around the root zone rather than concentrating it on one side. Protect lines from machinery, animals and tools.
- 05
Separate unlike trees or terrain
Different age, soil, elevation or crop demand may justify separate zones or management blocks. Do not force an entire mixed orchard into one schedule.
- 06
Plan expansion points
Document when and how emitters, loops or micro-sprays may be added. Include valve, filter, pipe and controller capacity in that future check.
- 07
Inspect through the season
Check filters, emitters, leaks, root-zone moisture, tree response and weather. Change schedules from evidence, not only from calendar habit.
Lifecycle planning table
| Stage | Irrigation focus | Evidence to collect | Review trigger |
|---|---|---|---|
| Establishment | Keep the planted root ball and adjacent soil appropriately moist | Root-ball moisture, drainage, settling and plant response | Roots extend, canopy grows or wetting remains too narrow |
| Young growth | Expand wetting volume and symmetry | Wetting pattern, new root exploration, emitter condition | Canopy or seasonal demand changes materially |
| Early bearing | Support a larger active root zone without saturation | Soil moisture, crop load, weather and uniformity | Uneven growth, deep drainage or block variation appears |
| Mature block | Maintain reliable distribution and adapt by block | Flow, pressure, uniformity, root-zone and production records | Replacement, pruning, soil change or system capacity limits |
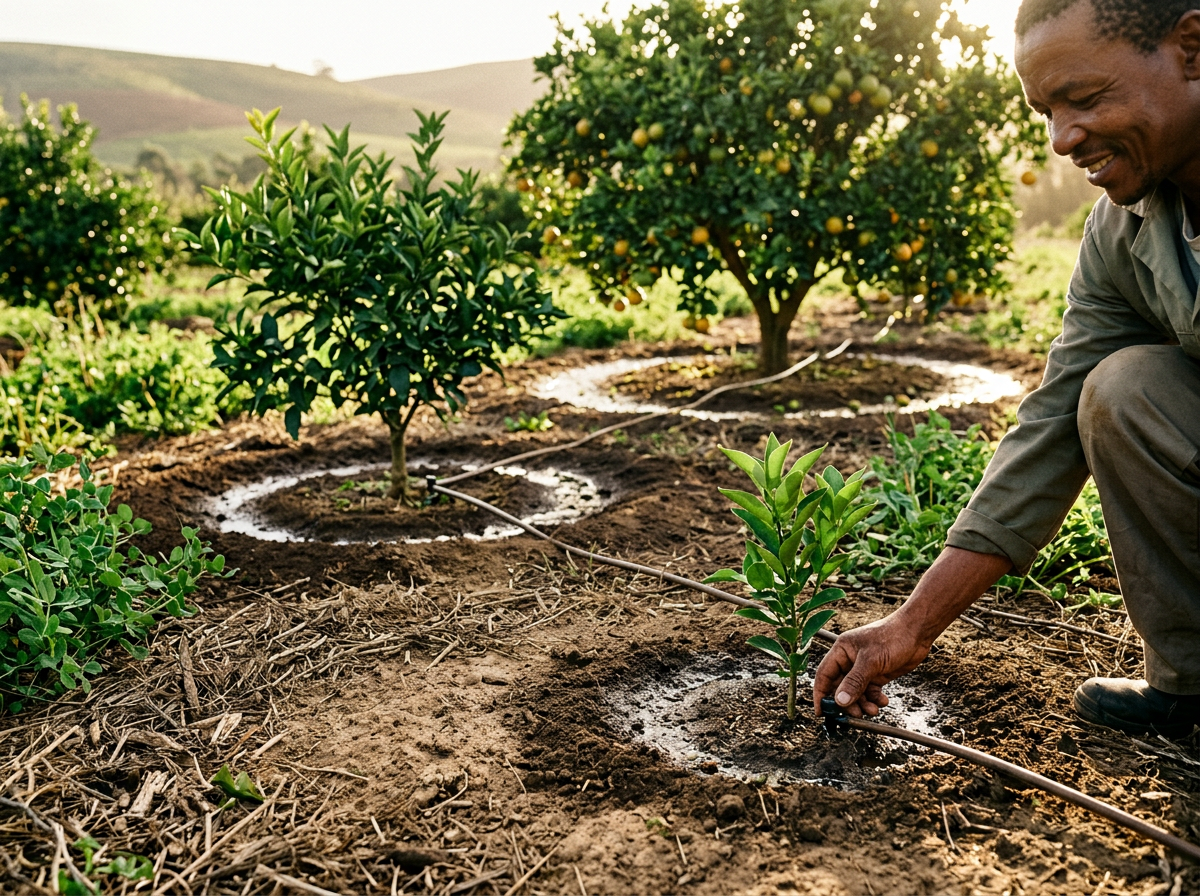
Micro-irrigation wetting zones expanding around fruit trees from establishment to maturity
Show the wetting pattern growing with the tree
Use three stages—young, developing and mature—with a larger, distributed wetted volume at each stage. The drawing must not imply that every species has the same root shape or that water should be placed at one fixed fraction of canopy radius.
Add a clear note during design that the final layout comes from local soil tests and crop guidance. Generated root diagrams are conceptual, not anatomical evidence.
Protect the future root zone
Do
- Test moisture sideways and downward in representative soil.
- Add devices symmetrically and within hydraulic capacity.
- Keep filters, flush points and connections serviceable.
- Review after canopy, crop load or soil conditions change.
Don't
- Leave one trunk-side emitter as a permanent plan.
- Add drippers without recalculating zone demand.
- Assume a surface wet spot shows adequate root-zone volume.
- Apply one schedule across unlike ages, soils and elevations.
Orchard-zone readiness
- Tree stage, soil and wetting pattern are documented.
- Source capacity includes the intended development stage.
- Emitters distribute water around, not against, the trunk.
- Blocks with unlike demand can be controlled separately.
- Lines and devices are protected yet inspectable.
- The operator knows the trigger for expansion or correction.
Design for growth
- Tree irrigation is a lifecycle plan, not one emitter position.
- Soil wetting tests guide placement and scheduling.
- Expansion must fit the future zone hydraulics.
- Different blocks may need different control.
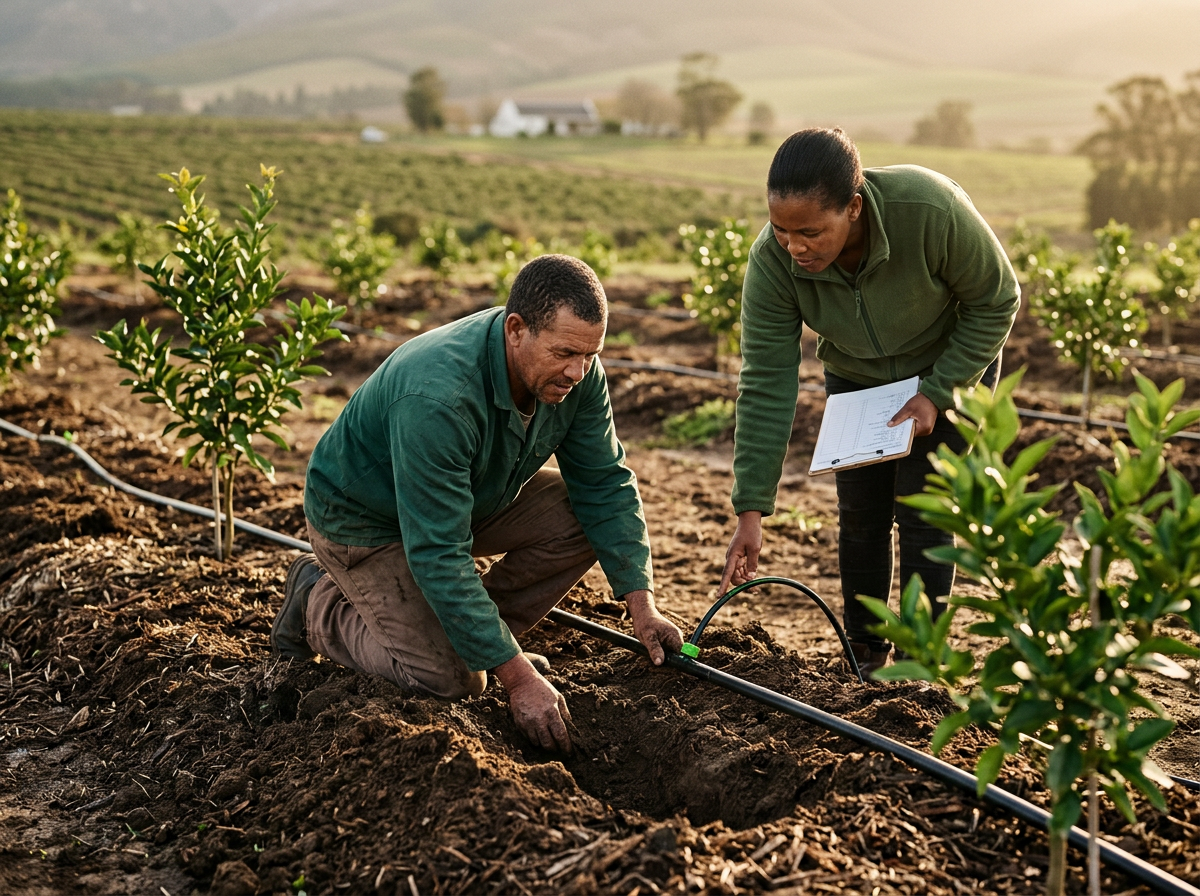
Plan for today's tree and tomorrow's root zone
Green Earth Concepts can assess the orchard block, soil, water source, elevation and maintenance routines, then develop a phased micro-irrigation layout with planned inspection and expansion points.
Tree-irrigation questions
How many drippers does a fruit tree need?
The answer depends on emitter flow, soil wetting, tree age, root-zone target, source capacity and schedule. Use a tested pattern and a staged plan rather than a universal count.
Should I put a dripper next to the trunk?
Avoid creating a permanently wet trunk area. Establishment watering must suit the planted root ball, then placement should evolve with roots and crop-specific guidance.
Can young and mature trees share a zone?
They may need different wetting areas, device counts and schedules. A designer should assess whether adaptable emitters, separate blocks or operational compromises are appropriate.
Make growth part of the original brief
The best time to plan additional wetting area is before the young-tree layout consumes all hydraulic capacity. Test the soil, document the next stage and review the design as the living system changes.