
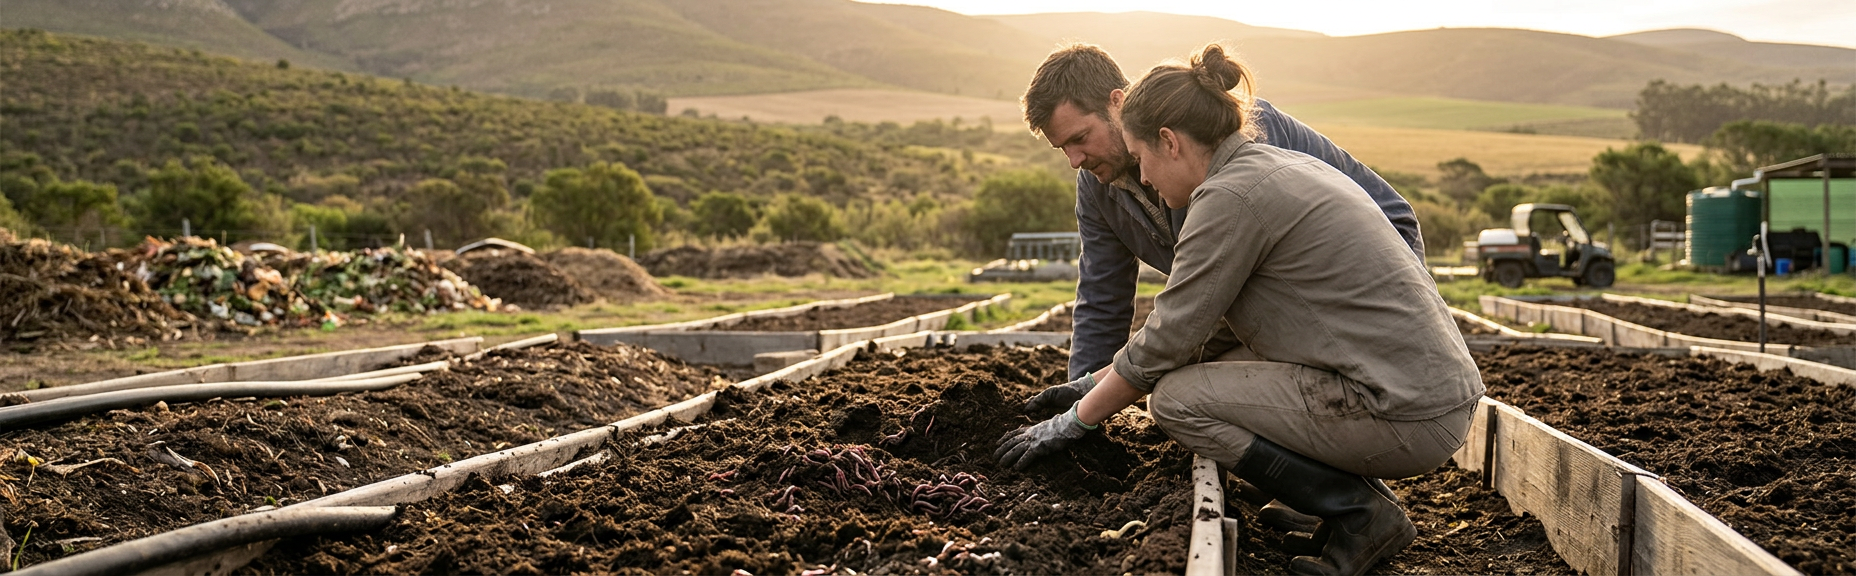
The most expensive problems often sit outside the worm bed
A worm farm can have good equipment and still fail operationally because the trolley route crosses guest traffic, summer rain runs into the feed area, the water point is too far away, the waste figures ignore weekend peaks or nobody has authority to reject a contaminated load. A useful worm farm site assessment exposes those realities before money is committed.
This 25-point checklist is designed for South African farms, estates, packhouses, food businesses, schools, hospitality venues and commercial properties. It complements the broader commercial worm farming guide and Green Earth Concepts' Commercial Worm Farms service. It is a preparation tool, not a design, quotation or legal determination.
Walk the site with the people who generate the material and the people expected to operate the system. Take photographs, measurements and notes. “There should be enough space” is not evidence; a measured route, dated waste log and named task owner are.
Assess the whole material journey
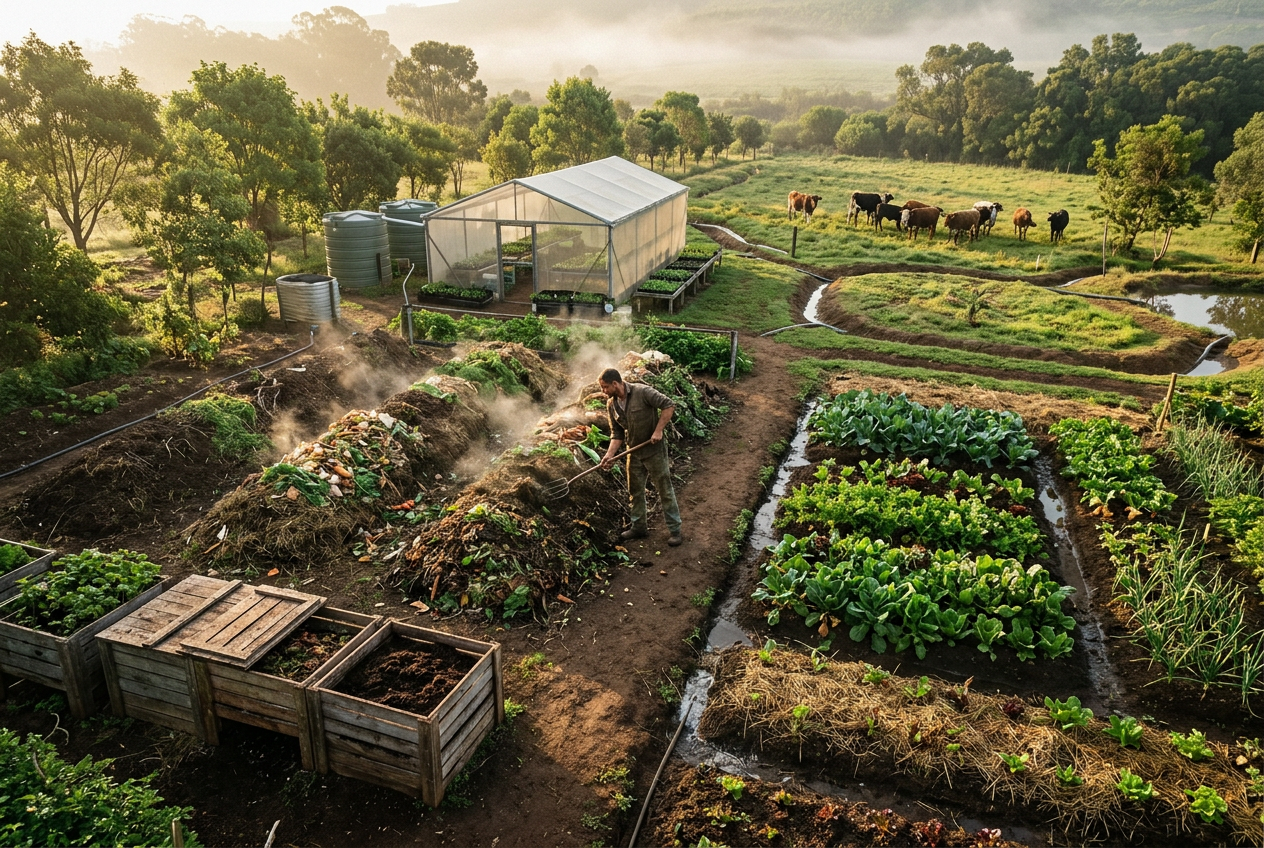
Start where the organic material arises. Follow it through separation, container change, storage, movement, preparation, feeding, monitoring, harvest and final use. At each handover, ask who makes the decision, what can go wrong and what evidence will show that it was done correctly.
Repeat the walk during a busy period if possible. A quiet site visit may hide delivery vehicles, lunch-service waste, production peaks, learners changing classes, irrigation cycles or security restrictions. Seasonal conditions matter too: Gauteng thunderstorms, Western Cape winter rain, Lowveld heat and local wind exposure can change water, shade and access requirements.
Finally, distinguish site feasibility from regulatory status. South Africa's waste framework and organic waste composting norms may be relevant depending on the activity, waste, throughput and site. Zoning, building, stormwater, workplace and municipal requirements can also matter. Record what has been checked, by whom and on what date; obtain a formal view where needed.
How to conduct the walk-through
- 01
Bring the right people
Include an operations representative, the intended operator, someone from health and safety or environmental management where applicable, and a person who understands the waste data. Invite grounds, kitchen, packhouse or maintenance staff who know the real routine.
- 02
Start at every generation point
Photograph existing bins and observe what is discarded. Note opening hours, shift changes, peaks, contamination and the distance to the proposed holding point.
- 03
Walk the loaded route
Move the actual trolley, wheelie bin or barrow if safe to do so. Check slopes, steps, narrow gates, vehicle conflict, lifting, security and cleaning points.
- 04
Inspect the proposed processing zone
Record dimensions, surface, shade, sun path, wind, rain entry, stormwater direction, water, power if needed, drainage, lighting, security and distance to neighbours or sensitive uses.
- 05
Test the end-use route
Identify where vermicompost would be sampled, stored and used. If it must cross the property or leave the site, include that handling, evidence and access in the design.
- 06
Close with actions, not assumptions
List missing measurements, responsible people and due dates. Separate simple operational fixes from questions requiring engineering, environmental, workplace, food-safety or municipal advice.
The 25-point worm farm site assessment
- 1. List every proposed organic feedstock by source.
- 2. Weigh normal daily quantities by stream.
- 3. Record peak-day and seasonal quantities.
- 4. Measure contamination and packaged material separately.
- 5. Identify material requiring exclusion or specialist review.
- 6. Map each source-separation station.
- 7. Measure the route from source to processing area.
- 8. Check slopes, steps, gates and manual-handling constraints.
- 9. Check vehicle access for delivery, service and emergencies.
- 10. Measure the proposed processing footprint and service aisles.
- 11. Observe direct sun and reflected heat through the day.
- 12. Assess wind exposure and secure-cover requirements.
- 13. Trace roof water, stormwater and flood pathways.
- 14. Check the working surface, levels and drainage destination.
- 15. Confirm a reliable, suitable water source and distance.
- 16. Provide space for covered feedstock preparation.
- 17. Provide separate harvest, screening and batch storage space.
- 18. Check cleaning, handwashing, tool and PPE facilities.
- 19. Identify neighbours, guests, learners or other sensitive receptors.
- 20. Review security, lighting, fire and emergency access.
- 21. Name the operator, backup and supervisor.
- 22. Allocate time for daily, weekly and seasonal tasks.
- 23. Define the intended output use and verification needs.
- 24. List applicable authority, zoning, waste and workplace checks.
- 25. Record future expansion space and a contingency route.
Turn observations into design evidence
| Weak observation | Better evidence | Possible design implication |
|---|---|---|
| We generate about two bins a day | Seven-day weights with tare, source and peak-day notes | Changes usable feedstock baseline and storage sizing |
| The area is shaded | Time-stamped photographs in morning and afternoon across seasons | May require additional roof or shade design |
| There is a drain nearby | Level survey or verified drainage route and destination | May require containment or a different location |
| Staff can manage it | Named roles, task times, backup and training plan | May reduce initial scale or add support |
| We will use the compost | Defined destination, area, timing, quality checks and trial plan | Changes harvest, storage and testing requirements |
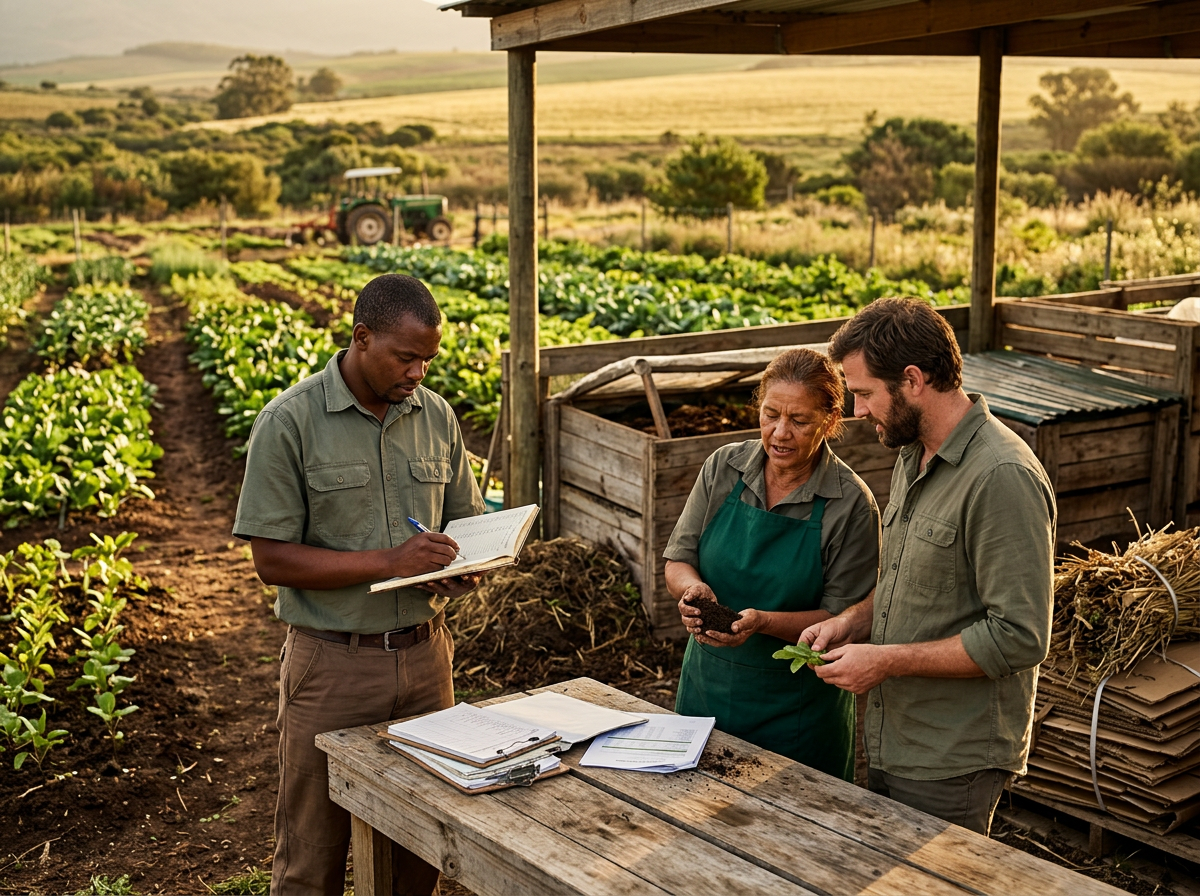
Bring the evidence to the site
Use the checklist to gather facts, then book a Green Earth Concepts site assessment. The team can review waste, layout, water, land, access and operator capacity before recommending a right-sized next step.
Site assessment questions
Can we assess a site before we have accurate waste weights?
You can identify layout and operational constraints, but capacity should not be finalised from guesses. Begin weighing as early as possible and include representative peaks. The commercial worm farm sizing guide explains how usable feedstock data informs a planning range.
How much space does a commercial worm farm need?
There is no single area per kilogram. Space includes reception, preparation, beds, aisles, water and drainage controls, harvest, storage, buffers and potential expansion. System design and measured site conditions determine the footprint.
Can the worm farm be outdoors?
Possibly, with suitable protection and design. Direct sun, rain, wind, temperature swings, stormwater, pests and security must be assessed. A roof or shade structure does not automatically resolve drainage or reflected heat.
Does a site assessment confirm legal compliance?
No. It can identify issues and information needed, but compliance depends on current, site-specific requirements and may require formal authority input or qualified specialists.
What files should we send before the visit?
Send waste logs, site photographs, an address and site plan if available, operating hours, proposed streams, water information, access and security notes, intended output use, current contractor details and known approvals or restrictions.
A good assessment replaces expensive assumptions
The strongest site assessment follows material and people through the full working day. It records measurements, exposes handover risks and separates operational questions from matters requiring professional or authority confirmation.
Complete the 25 checks before selecting equipment. The result may support a worm farm, change its location or scale, suggest a pilot, or show that another route is more practical. Any of those outcomes is better than discovering the constraint after installation.