
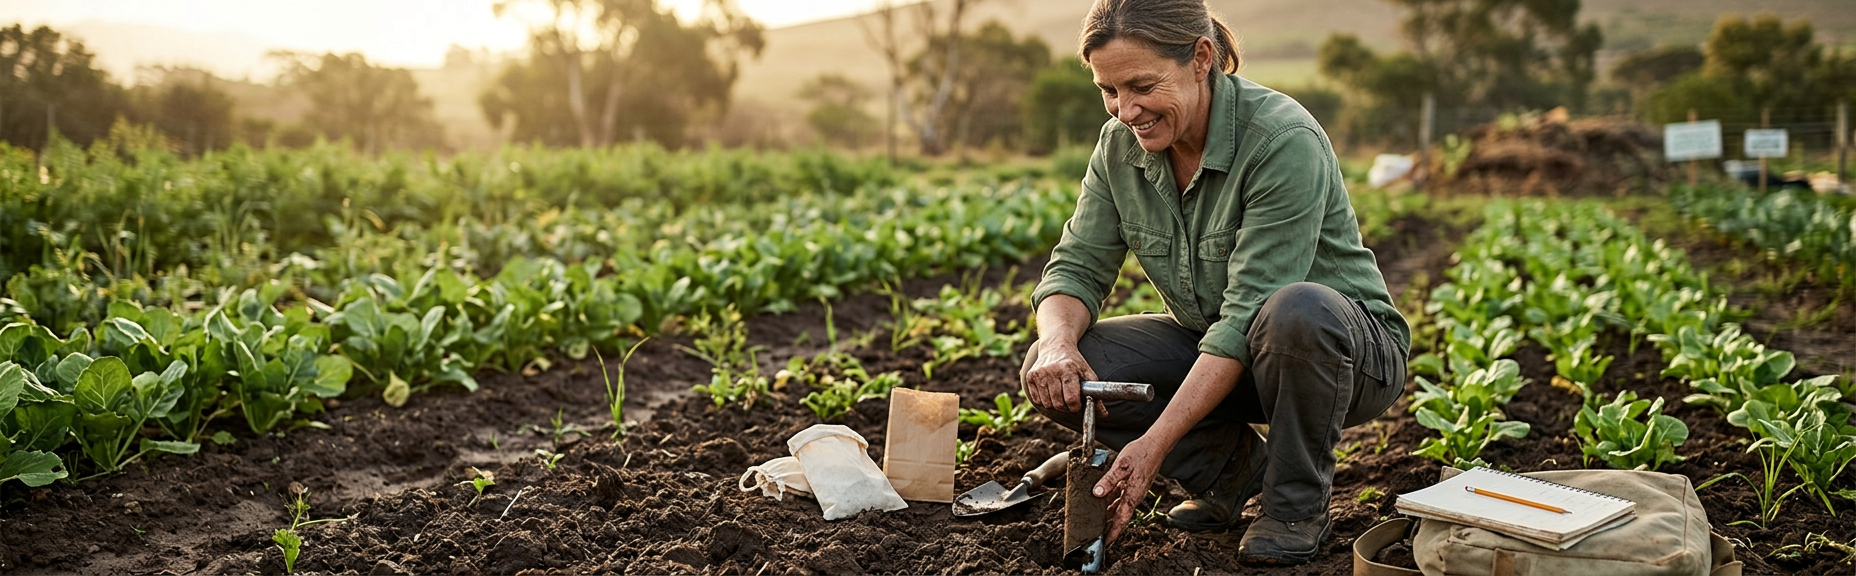
Stop asking the plant to diagnose the soil
Weak growth often triggers a rapid sequence: buy fertiliser, add compost, apply lime, water more and hope one of the changes works. That approach can waste money and make the original problem harder to identify. Yellowing may involve nutrients, but it can also result from damaged roots, poor drainage, unsuitable pH, salinity, temperature, pests or uneven water.
A soil test does not remove every uncertainty. It gives you a measured starting point. Its value depends on three things: collecting a sample that represents the area, asking for tests that fit the decision and interpreting the report in the context of crop, soil, water and management.
This guide explains the process without offering blanket amendment rates. Laboratories use different methods and reporting units, crops differ in their needs, and a result that matters in one soil may be interpreted differently in another. For major decisions, use a suitable laboratory and an agronomist, soil scientist or qualified adviser who understands the report method and local growing context.
For site-specific design and implementation, explore sustainable agriculture design.
Decide what question the test must answer
Do not begin with a shopping list of analyses. Begin with the decision. Are you establishing new vegetable beds? Investigating poor growth in one zone? Checking whether repeated compost use has changed salinity or nutrients? Comparing two fields? Assessing a site with an uncertain history? Tell the laboratory the intended crop or land use, irrigation source and problem you are trying to solve.
Routine agricultural tests commonly address properties such as pH and selected plant-available nutrients. Depending on the site and question, a laboratory or adviser may recommend electrical conductivity or other salinity indicators, organic carbon or organic matter, texture-related information, exchangeable cations or additional analyses. The exact package and interpretation method should come from the laboratory or adviser, not from a generic internet list.
A fertility test is not automatically a contamination assessment. If the site may have received industrial fill, ash, paint debris, sewage, mining waste, treated timber residues or other suspect materials, explain that history before sampling. Appropriate sampling, health precautions and analysis may be different. Do not disturb unknown material simply to complete a garden test.
For the next practical decision, continue with test soil texture and drainage in the field.
For the next practical decision, continue with diagnose yellow leaves before adding nutrients.
For the next practical decision, continue with use compost in vegetable beds safely.
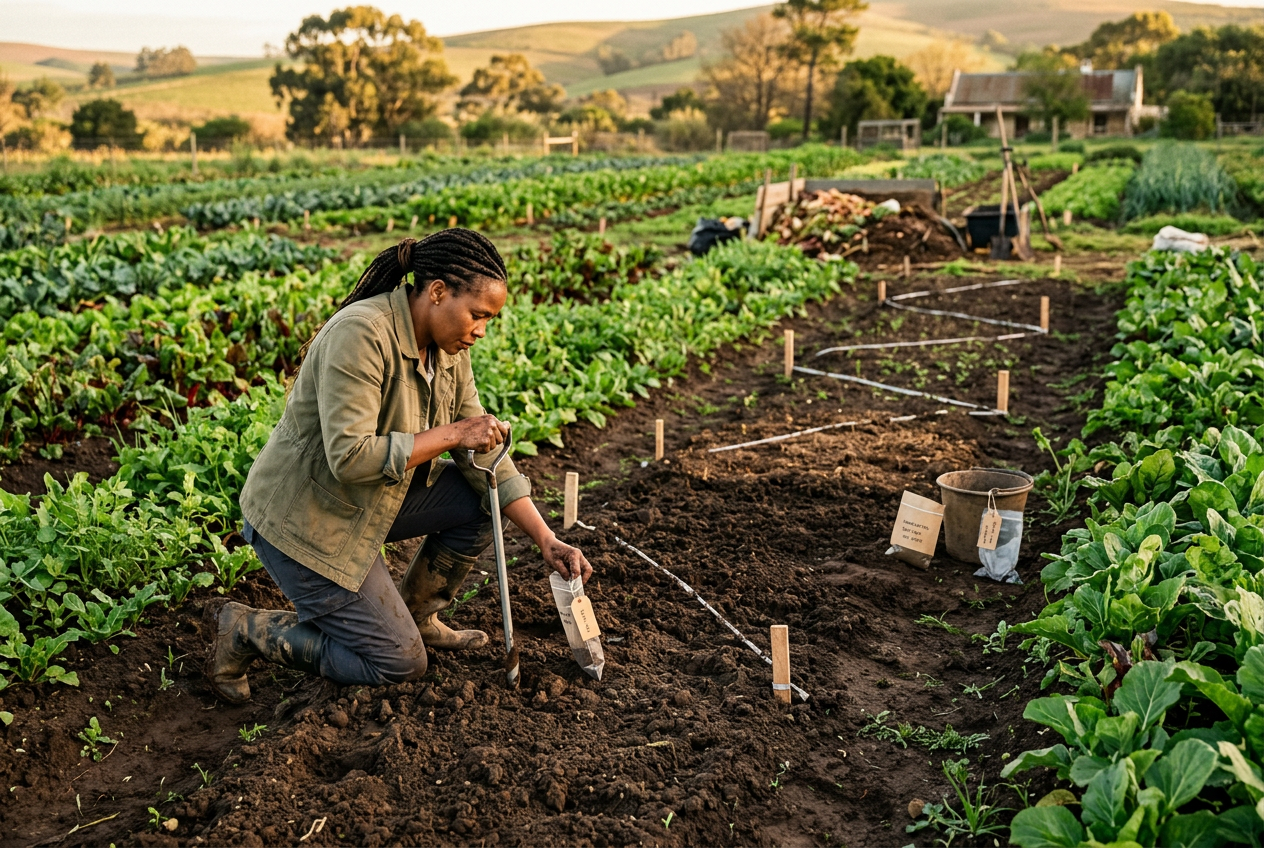
How to collect a representative garden soil sample
- 01
Contact the laboratory first
Ask for its sampling instructions, required mass, container or bag, submission form, test method and information about intended crops. Follow those instructions when they differ from general guidance.
- 02
Divide the site into meaningful zones
Separate areas with different soil, slope, management, crop use or symptoms. Do not combine a healthy bed with a persistently failing patch simply because they are close.
- 03
Choose clean tools
Use clean, suitable sampling tools and a clean plastic bucket unless the laboratory specifies otherwise. Rust, fertiliser residue, galvanised coatings or dirty containers can compromise some analyses.
- 04
Remove surface litter carefully
Move loose mulch or undecomposed surface material aside without removing the actual topsoil. Do not include fresh leaves, fertiliser granules or a concentrated compost pocket unless that material is specifically being tested.
- 05
Take several subsamples
Follow a representative pattern through the zone and collect at the consistent depth specified for the crop and test. Avoid unusual spots such as compost heaps, fence lines, old burn piles, leaking taps or manure stacks unless they are the problem being investigated; sample those separately.
- 06
Combine the similar subsamples
Mix them thoroughly in the clean bucket. Break clods by hand if safe, remove stones and large roots, and take the required amount from the well-mixed composite.
- 07
Label before leaving the zone
Use a unique sample ID. Record date, depth, exact location, current crop, previous inputs, irrigation source and the question the sample should answer. A photograph and site map improve traceability.
- 08
Store and deliver as instructed
Follow laboratory directions for drying, cooling, packaging and delivery. These requirements may differ when biological or contamination analyses are involved.
Read the report as evidence, not a prescription
<p><em>Never compare numbers from different methods as if they were automatically equivalent.</em></p>
| Report area | What it may help explain | Questions before acting |
|---|---|---|
| pH | Whether acidity or alkalinity may affect crop suitability and nutrient availability | Which laboratory method was used? What range is appropriate for the intended crop and soil? |
| Electrical conductivity or salinity indicator | Whether dissolved salts may create plant, soil or irrigation concerns | Was the extraction method appropriate? Could water quality, fertiliser, compost or drainage be contributing? |
| Selected nutrients | Relative sufficiency or imbalance under the laboratory's method | Are units and extraction method understood? What does the crop require at this stage? |
| Organic carbon or organic matter | One part of soil condition and longer-term management | How was it measured? What trend exists over repeated, comparable tests? |
| Texture or related physical information | Likely water movement, storage and amendment behaviour | Does field drainage agree? Is compaction or a buried layer creating a separate problem? |
| Recommendations | A possible amendment or management direction | Were crop, yield goal, soil depth, irrigation and previous inputs supplied to the adviser? |
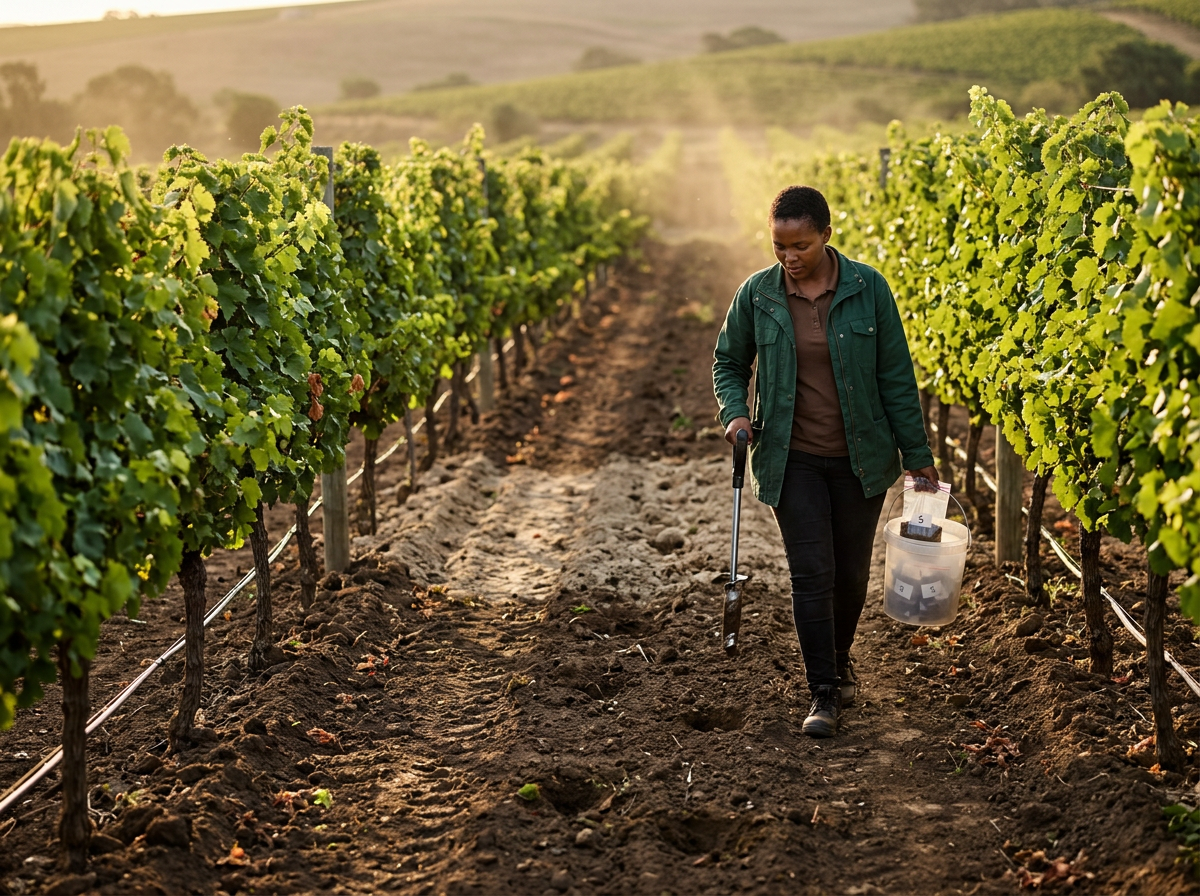
Representative zig-zag soil sampling pattern with unusual areas kept as separate samples
Fictional example: when more input is not the first answer
Consider a fictional community garden with pale, slow-growing spinach in two lower beds. A representative sample from those beds is kept separate from the healthy upper beds. The report shows a pH outside the preferred range stated by the adviser and an elevated salinity indicator. The team also records slow drainage and learns that concentrated liquid feed has been applied repeatedly. This example is not a diagnosis for another garden; it shows how evidence is combined.
The responsible next step is not to copy an amendment rate from a different soil. The team asks the laboratory which method and units were used, provides its water source and input history, and obtains crop- and site-specific advice. It checks irrigation water quality and drainage because soil amendments alone will not correct an incoming salt source or saturated root zone. The team pauses the concentrated feed, records any corrective action and sets a retest date using the same laboratory method and comparable sampling zone.
Now change one fact: imagine that only a single plant is pale while its neighbours are healthy. A composite soil test of the entire garden may hide the local cause. Root damage, pests, disease, a blocked emitter or planting depth could deserve attention first. The scale and pattern of the symptom determine the investigation.
Soil testing decisions that protect the value of the result
Do
- Ask the laboratory for its current sampling protocol before collecting.
- Keep different soils, management zones and problem areas separate.
- Record depth, location, crops, water source and previous inputs.
- Interpret units and methods with crop- and site-specific advice.
- Retest comparable zones with a consistent method to track change.
Don't
- Sample immediately beside a fertiliser band or compost pile as if it represents the bed.
- Use a dirty or unsuitable metal container without checking laboratory requirements.
- Treat a fertility panel as proof that a site is free from contamination.
- Apply lime, fertiliser or compost solely because a generic chart says so.
- Claim one test explains every plant symptom or guarantees a yield response.
Soil testing questions
Is a home soil pH kit enough?
A home kit may be useful for a rough screening when used correctly, but it does not replace a suitable laboratory analysis for major amendment decisions, recurring crop problems, commercial planning or contamination concerns.
Can I mix soil from different beds in one sample?
Only combine areas that are genuinely similar in soil, management, crop use and condition. Keep clearly different, problematic or separately managed zones as separate samples so that the result remains meaningful.
Does a soil test tell me exactly how much compost to add?
Not by itself. Compost quality, nutrient content, maturity, salinity, soil condition, crop need and application method all matter. Use the report with crop-specific and site-specific advice rather than assuming one rate fits every compost and bed.
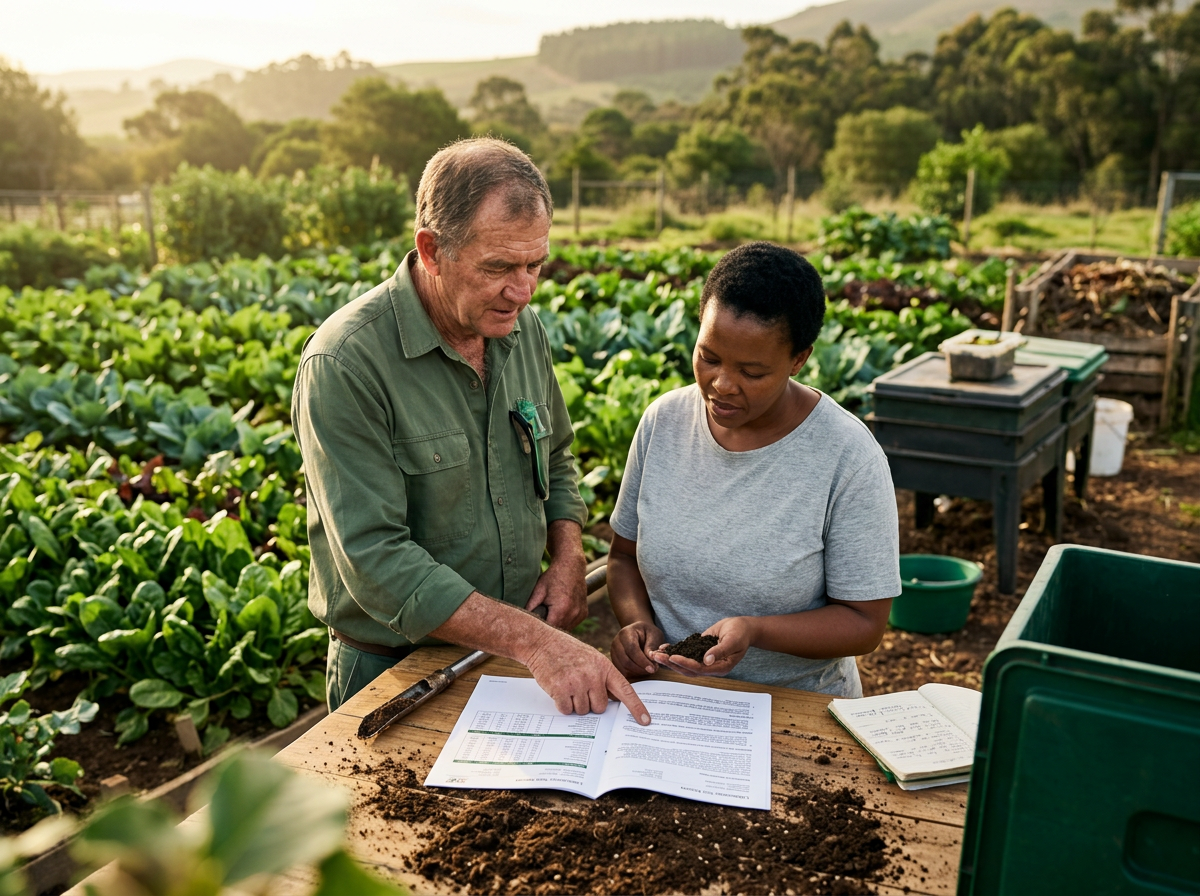
Connect the laboratory report to the whole growing system
Green Earth Concepts can assess soil condition alongside drainage, water access, bed layout, crop goals, organic inputs and maintenance capacity. Bring existing laboratory reports, site history and details of previous applications so the assessment can focus on practical next decisions rather than repeating assumptions.
The five-part soil testing discipline
- Define the decision before selecting tests.
- Sample similar areas consistently and keep unusual zones separate.
- Give the laboratory enough site, crop, water and input history to support interpretation.
- Read method, units and uncertainty before comparing results or applying amendments.
- Record actions and retest comparable zones; trends are often more useful than isolated numbers.
Measure first, amend with context
A soil report is valuable because it narrows uncertainty. It is not a universal recipe and it cannot repair an unrepresentative sample. Good sampling protects the meaning of the numbers; good interpretation connects those numbers to crop, soil, water and management.
Before adding another product, ask what evidence supports the change, what else could explain the symptom and how the result will be monitored. That discipline protects the soil, the budget and the team's ability to learn from each season.