
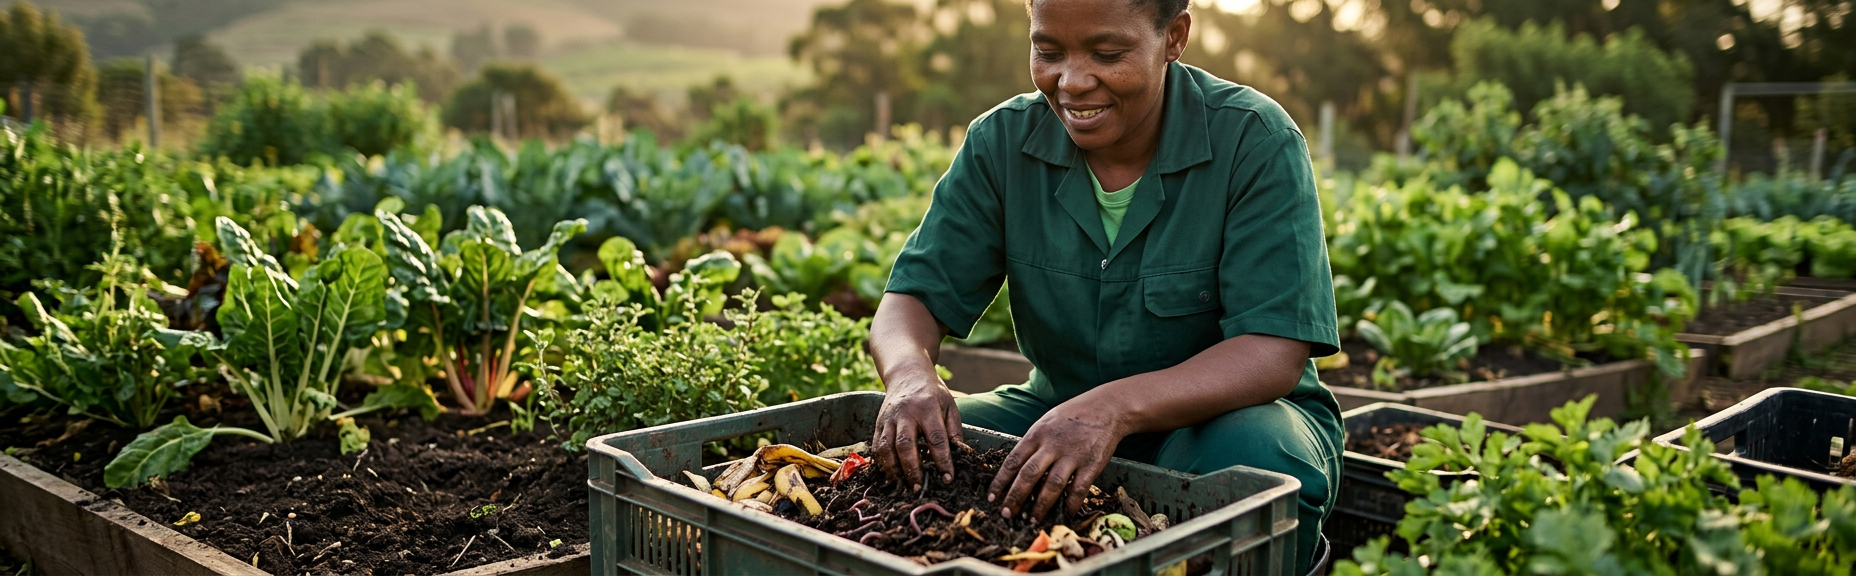
Why start a worm farm in South Africa?
- Diverts organic waste from landfill — soon a legal requirement in many South African municipalities.
- Produces vermicompost and worm tea — a natural, high-value alternative to synthetic fertiliser.
- Cuts household waste-collection volume by 30–50%.
- Regenerates depleted soils on farms, food gardens and estate landscapes.
- Creates income and skills opportunities in schools and community projects.
Six steps to set up your worm farm
- 01
Choose the right bin for your space
For a South African home, a stackable plastic worm bin or a converted wooden crate works well. Farms, schools and hospitality kitchens should size up to a modular flow-through system. Whatever you choose, drainage holes at the base and ventilation on the sides are non-negotiable — vermicomposting is aerobic, and a soggy anaerobic bin will kill your worms. - 02
Prepare bedding that mimics the forest floor
Layer 10–15 cm of moist bedding: shredded cardboard, newspaper (avoid glossy inserts), aged leaves and coco coir. Spray with rainwater or dechlorinated water until it feels like a wrung-out sponge. Add a handful of garden soil or finished compost to introduce beneficial microbes. - 03
Introduce Red Wigglers (Eisenia fetida)
Red Wigglers are the workhorse of vermicomposting in South Africa. They tolerate our temperature swings better than earthworms from your garden and eat close to their body weight each day. Start with 500 g to 1 kg — around 1,000 to 2,000 worms — for a household bin. Buy from a reputable local supplier to avoid invasive species. - 04
Feed slowly and know what to avoid
For the first two weeks, feed small quantities of fruit and vegetable scraps, tea bags, coffee grounds and crushed eggshells. Bury food under the bedding to deter flies. Avoid citrus, onion, garlic, dairy, meat, oily foods and anything cooked with salt — these will attract pests and disrupt the bin pH. - 05
Manage the South African climate
Keep the bin in deep shade. Highveld summers can push a bin above 35°C and cook the worms — move it into a garage, insulate with hessian, or add frozen water bottles on very hot days. Coastal humidity means you will need extra ventilation. In cold Cape and Free State winters, wrap the bin in a blanket or move it indoors to stay above 10°C. - 06
Harvest vermicompost and worm tea
After 2–3 months you will see dark, crumbly castings — the gold-standard soil amendment for veggie gardens, indigenous plantings and container growing. Harvest by pushing finished material to one side and adding fresh bedding and food to the other; worms migrate across in a week or two. Collect worm tea from the drainage tap and dilute 1:10 with water before applying.
Want a deeper feeding guide?
See exactly which South African kitchen scraps are safe, what to avoid, and how much to feed your worms.
Troubleshooting common problems
| Problem | Likely cause | Fix |
|---|---|---|
| Bad smell | Overfeeding or too wet | Stop feeding for a week, add dry shredded cardboard, and improve ventilation. |
| Fruit flies | Exposed food scraps | Bury food under 5 cm of bedding and cover the bin with a damp hessian sack. |
| Worms escaping | Bin too acidic, too dry or too hot | Add crushed eggshells, mist the bedding, and move the bin to a cooler spot. |
| Slow processing | Cold weather or low worm density | Insulate the bin, feed smaller amounts, or add more worms. |
Scaling from home to commercial
Once your household bin is running smoothly, the same principles scale up. Schools and small holdings usually move to a medium modular system. Farms, estates and food businesses run large or extra-large worm farms that can process up to 80 tons of organic waste per month — turning a waste-management cost centre into a fertiliser supply line.
Quick facts
- Species: Red Wigglers (Eisenia fetida) handle South African conditions best.
- Ideal temperature: 15–25 °C, always in shade.
- Starter worms: 500 g – 1 kg for a household bin.
- First harvest: 2–3 months after setup.
- Household capacity: around 3.5 kg of kitchen waste per week.
Frequently asked questions
How much does it cost to start a worm farm in South Africa?
A basic DIY setup costs R500–R1,500 including bedding and 500 g of Red Wigglers. Commercial-grade stackable systems start around R2,500. Farm-scale flow-through systems are quoted per site.
Which worms are best for vermicomposting in South Africa?
Red Wigglers (Eisenia fetida) are the standard. They handle our climate range, reproduce quickly and process organic waste efficiently. Do not use earthworms dug from your garden — they will not survive in a bin.
How much waste can a household worm farm process?
A well-run home bin with 1 kg of worms can process roughly 500 g of kitchen scraps per day, or around 3.5 kg per week — enough for most South African households.
Can I run a worm farm in a small townhouse or flat?
Yes. Compact stackable bins are odour-free when managed correctly and fit on a balcony, in a laundry or under a kitchen sink.
Can worm farming work at commercial scale?
Absolutely. Farms, estates, schools and food businesses across South Africa use modular worm farms to divert tons of organic waste from landfill each month and produce fertiliser on-site.
Ready to turn your waste into fertiliser?
We design, install and train teams on worm farms across South Africa — from a single home unit to industrial-scale systems.