
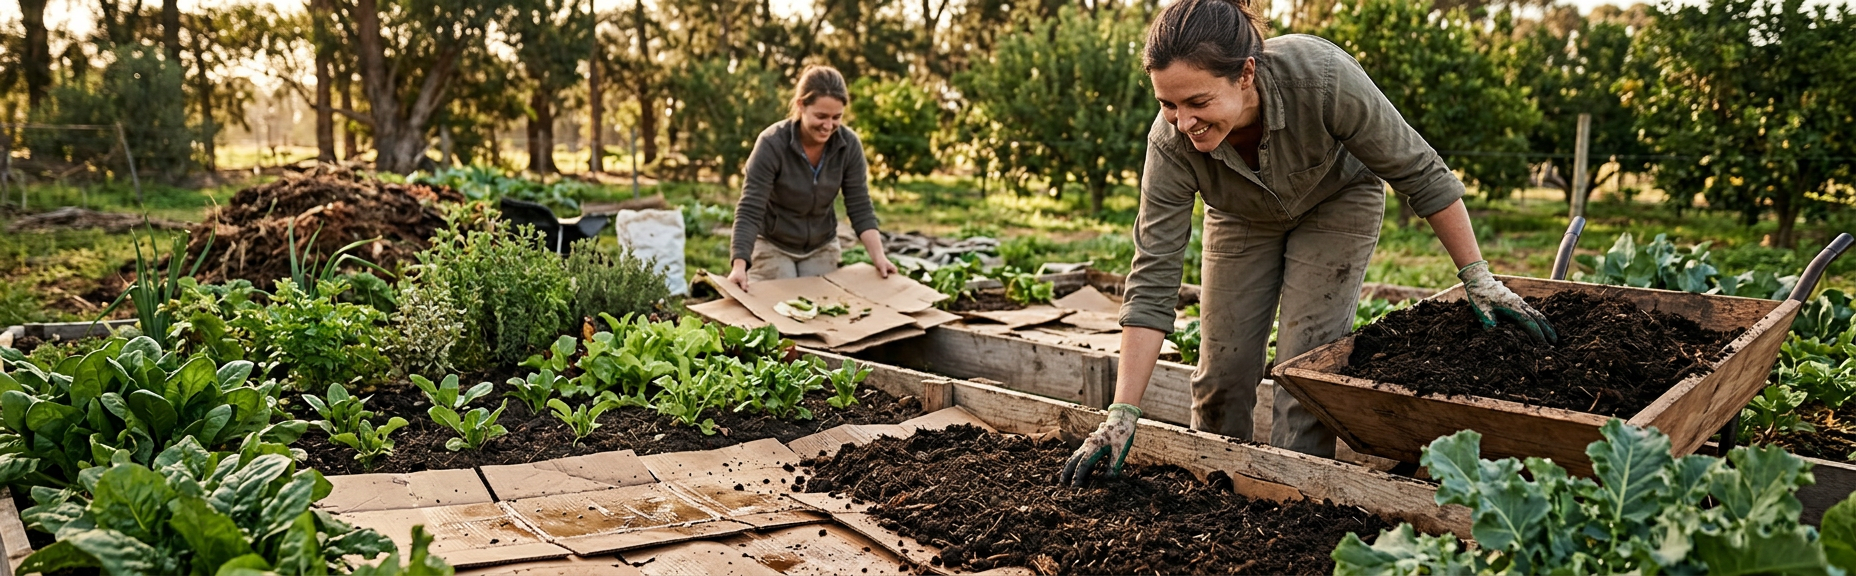
A bed can begin with layers and patience
Starting a vegetable garden is often presented as a choice between digging the existing ground and buying a load of perfect topsoil. A no-dig bed offers another route. Instead of turning the whole profile, you control weeds, add clean organic materials at the surface, protect the soil and let roots and biological activity work through the layers over time.
The method can reduce disturbance and make use of appropriate local materials, but it is not a way to hide every site problem. Cardboard does not correct contaminated ground. Compost does not create a drainage outlet. A thick pile of undecomposed material is not immediately a seedbed. Termites, rodents, persistent weeds, fire risk, water access and the quality of every input still need attention.
This guide gives a cautious build sequence for a small vegetable bed. Adapt the design to local climate, crop, soil and materials, and seek qualified advice where contamination, structural drainage, services or major earthworks may be involved.
For site-specific design and implementation, explore sustainable food-garden planning.
What no-dig means—and what it does not
No-dig or low-disturbance gardening places amendments and cover mainly at the surface rather than repeatedly inverting the soil. It borrows from a broader principle used in conservation agriculture: minimise unnecessary soil disturbance while maintaining cover and crop diversity. A small household bed is not automatically a formal conservation-agriculture system, and the term should not be used to claim outcomes that were never measured.
Initial targeted work may still be necessary. Remove dangerous rubble, address a known compacted layer when appropriate, correct severe drainage and deal with persistent weeds using a suitable plan. Once the bed is in usable condition, permanent paths and surface management help avoid re-compaction.
The simplest no-dig build is often better than an elaborate layer cake. Plain cardboard can suppress existing vegetation temporarily. Mature compost or a suitable tested growing medium provides the root zone. Mulch protects the surface. Coarse woody layers are sometimes promoted online, but their behaviour, settlement, nitrogen dynamics, pests and water movement differ; do not bury large unknown volumes in an intensive vegetable bed without a site-specific reason.
For the next practical decision, continue with build soil organic matter over time.
For the next practical decision, continue with compare raised and in-ground beds.
For the next practical decision, continue with check compost before using it in beds.
Materials and safety screen
- Clean, plain corrugated cardboard with tape, staples, labels and plastic removed.
- Mature compost with known feedstock and acceptable quality for the intended crop.
- Suitable existing soil or growing medium that is free of visible contamination.
- Clean mulch such as appropriate straw, leaves or plant material, chosen for local wind, fire and pest conditions.
- Reliable water delivery that can wet the intended root zone evenly.
- Safe edging only if the design needs it; consider durability, heat, corrosion, treatment and replacement.
- Glossy, waxed, heavily coated, oil-stained or unknown cardboard.
- Foul-smelling, hot, slimy, visibly contaminated or immature compost.
- Painted, treated or chemically contaminated timber and unknown pallets.
- Plant residues carrying seed, disease or persistent chemical contamination.
- Soil from an unknown fill, dump, industrial or mining context without suitable assessment.
- Any layout that blocks drainage, covers services or directs water onto neighbours or structures.
Build the bed in ten controlled steps
- 01
Confirm the site
Map sun, shade, wind, slope, drainage, water, services and access. Observe after rain where possible. Choose a manageable size that can be reached from paths without stepping into the bed.
- 02
Record a baseline
Photograph the area and note vegetation, problem weeds, compaction clues and previous use. If the history raises contamination concerns, stop and obtain suitable advice before disturbing the ground.
- 03
Manage existing vegetation
Cut annual growth low and remove seed heads. Persistent rhizomes, bulbs or invasive weeds may need a longer control plan. Do not spread fragments through the site.
- 04
Shape safe paths and drainage
Define permanent paths first. Make sure the proposed bed does not dam runoff or sit in a low point. Raised edging is optional and must not conceal the lack of an outlet.
- 05
Moisten very dry ground if appropriate
Begin with a damp rather than flooded surface where local conditions support it. Do not trap water over saturated soil.
- 06
Overlap plain cardboard
Lay clean sheets with overlaps so light gaps do not invite immediate regrowth. Fit around existing plants intentionally. Keep cardboard away from structures where it may create an unmanaged pest or moisture concern.
- 07
Add only purposeful organic layers
If using a coarse organic layer, keep it modest and clean, understand that it will settle and do not treat it as a mature root zone. Simpler builds may move directly to suitable compost or growing medium.
- 08
Create the planting layer
Add enough mature, appropriate material for the intended establishment method. Transplant roots and direct-sown seed must begin in a medium that is stable and suitable, not unfinished material.
- 09
Water and cover
Wet the bed evenly, then add suitable mulch while leaving clearance around stems. Check that water penetrates instead of running off the surface or escaping down paths.
- 10
Label, monitor and adjust
Record the build date and materials. Inspect settlement, moisture, weed breakthrough, termites or other pests, odour, crop establishment and irrigation. Top up with appropriate mature material only when there is a clear need.
Readiness checks before planting
<p><em>A pause is cheaper than planting into a bed that is not ready.</em></p>
| Check | Ready signal | Pause and investigate |
|---|---|---|
| Material maturity | Earthy, stable material appropriate for planting | Heat, strong ammonia or sour odour, slime or recognisable unstable feedstock |
| Water movement | Water enters evenly and the bed drains without eroding paths | Persistent ponding, water bypassing the bed or saturated lower ground |
| Root zone | Sufficient mature medium for the intended seed or transplant | Roots would sit mainly in cardboard or unfinished coarse material |
| Weeds | Annual vegetation suppressed and regrowth manageable | Persistent weeds pushing through many points or spreading from edges |
| Pests | Normal monitored soil activity with no structural or crop damage | Termite, rodent or other activity creating damage, safety or building concerns |
| Settlement | Expected minor settling can be managed | Large voids, collapsing edges or major volume loss affecting roots and irrigation |
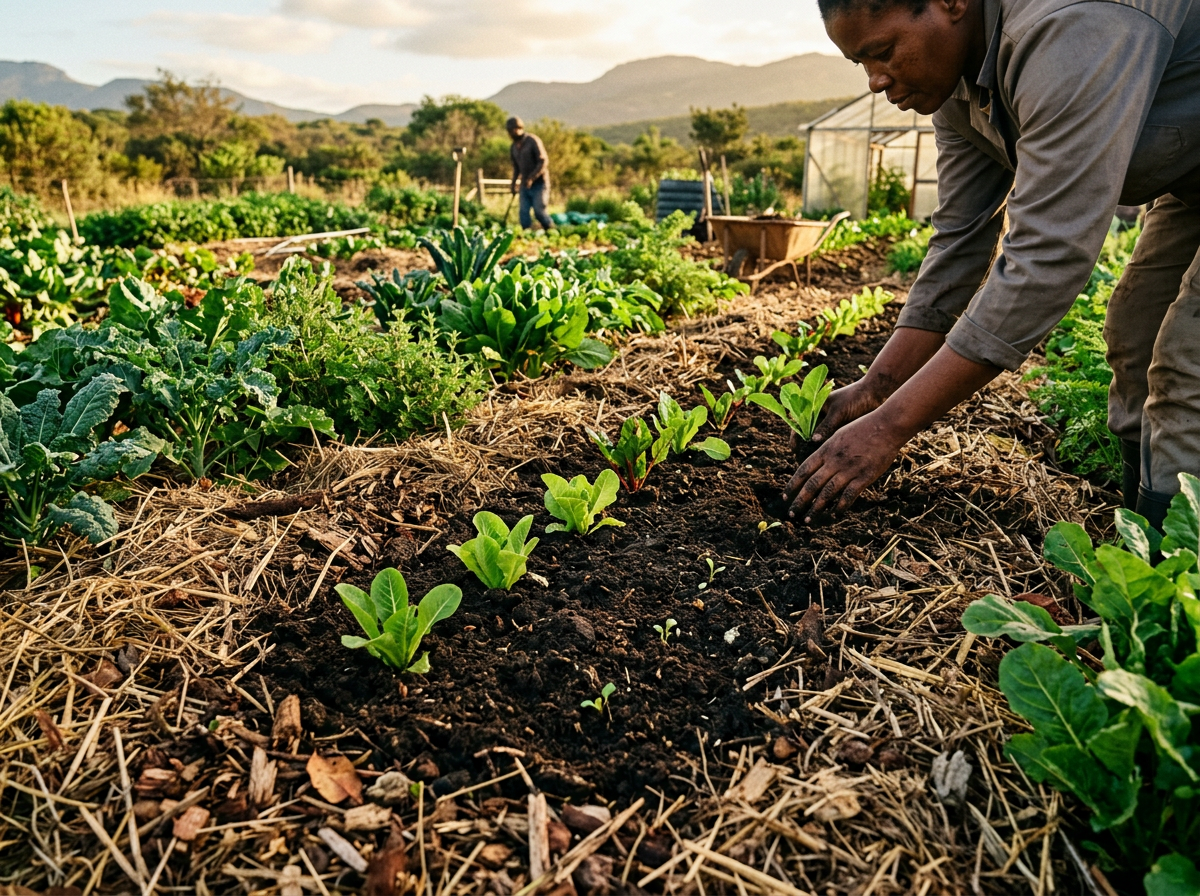
Planting without digging the whole bed
For transplants, open only the space needed through the mulch and place the root ball into the mature planting layer. Water the root zone and check again after the first irrigation because fresh layers can shed or channel water. For direct sowing, create a fine, stable band of suitable medium and keep coarse mulch away from the seed row until seedlings establish.
Do not assume the bed needs daily watering because it is new. Check below the surface. Frequency depends on weather, crop stage, root depth, material and irrigation method. Cardboard and fresh layers can change wetting patterns, so test several points rather than judging from one corner.
As crops finish, cut residues at the surface when plant health and pest management allow, leaving roots to decompose. Add clean compost or mulch according to observed need, and rotate crop families where practical. Avoid rebuilding the entire layer stack every season; the aim is a stable managed bed, not an annual construction project.
No-dig habits that prevent avoidable problems
Do
- Start with a small bed and known materials.
- Keep permanent paths and avoid standing on the growing area.
- Inspect beneath mulch and around edges regularly.
- Use site-specific advice for compost, pH, nutrients and drainage.
- Record material sources and build date.
- Obtain consent before documenting or publishing community methods or knowledge.
Don't
- Cover suspected contaminated soil and call the risk solved.
- Use glossy or unknown packaging as a food-bed layer.
- Plant roots into hot or unfinished compost.
- Build across a runoff route or against a damp structure.
- Promise that no-dig eliminates weeds, irrigation or nutrient management.
- Present a community's practice as a generic method without permission and attribution.
No-dig bed questions
Can I build a no-dig bed directly over grass?
Often, but first identify and manage persistent weeds, remove seed heads and check that the site drains safely. Overlapping plain cardboard can suppress many grasses while the bed establishes, but aggressive perennial weeds may need a longer, site-specific control plan.
Is any cardboard safe for a vegetable bed?
Use clean, plain corrugated cardboard with tape, labels, staples and plastic removed. Avoid glossy, heavily printed, waxed, oil-stained, chemically contaminated or unknown material. When source safety is uncertain, do not use it in a food-growing bed.
Do I have to wait before planting?
It depends on the layers and crop. A bed topped with enough mature, suitable growing medium may accept transplants sooner, while a bed relying on coarse material to break down needs more time. Planting pockets must keep roots in appropriate mature material, not hot or undecomposed layers.
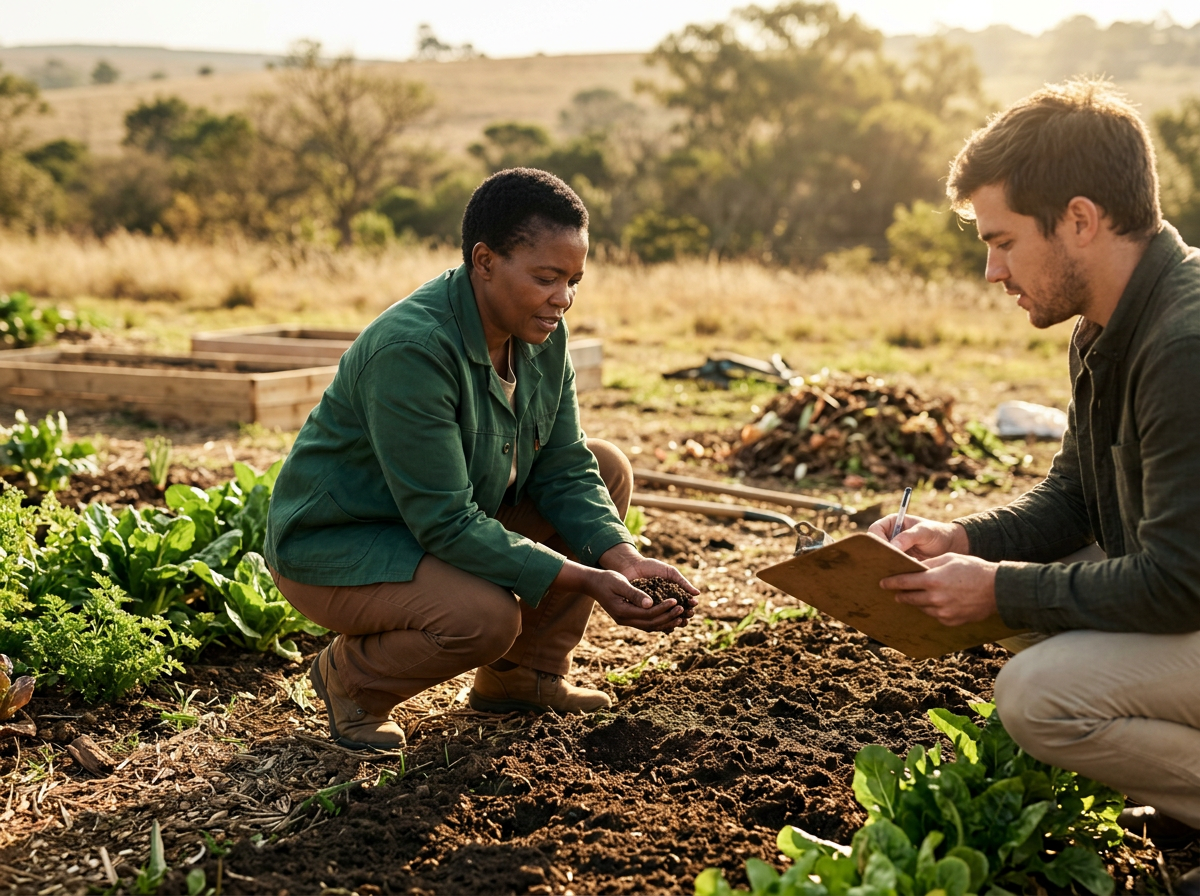
Make sure the method suits the site
Green Earth Concepts can assess soil, drainage, water, bed placement, available organic inputs and maintenance capacity before a no-dig garden is built. The assessment helps decide whether a no-dig, raised, in-ground or hybrid bed is the most practical starting point.
Build less, observe more
- No-dig is a low-disturbance management method, not a cure for contamination, waterlogging or poor irrigation.
- Use simple, clean, traceable materials and reject unknown or unfinished inputs.
- Create a mature root zone; do not confuse decomposition material with planting medium.
- Permanent paths, surface cover, even watering and regular inspection are more important than an elaborate layer recipe.
- Expect the bed to settle and change. Record what was built and add material only for a stated need.
Low disturbance still requires high attention
A no-dig bed can be a sensible way to begin growing without repeatedly turning the soil or buying an entire replacement profile. Its success still depends on safe materials, suitable drainage, a mature planting layer, careful water delivery and people who inspect the bed.
Keep the build modest, the records clear and the claims realistic. Give the system time to settle, learn from the first crop and correct problems before expanding. Patience is not a delay in this method; it is part of the design.