
Buy information before you buy fittings
Most expensive irrigation mistakes begin before anyone cuts pipe. A source is assumed to be strong enough. Static pressure is mistaken for working pressure. A sunny winter plan ignores summer shade. A valve box is placed where no one can service it. A borehole is treated as permission to use unlimited water. Each mistake looks small on paper and becomes costly once trenches, plants and hard landscaping are in place.
A good assessment creates a shared picture of the journey from authorised water source to active root zone. It records what is known, what was measured, what changes by season and what still needs a qualified person. Use this checklist before specifying a controller, pipe size, pump, filter, valve or emitter.
Green Earth Concepts' Irrigation Systems service begins with this whole-path view rather than a shopping list.
What the assessment must answer
The source section identifies municipal, borehole, rainwater, dam or other supply; ownership or permission; reliability; restrictions; and the safe connection point. The hydraulic section records flow, static pressure, working pressure, elevation and likely simultaneous demand. Water quality matters because sediment, salts, chemistry or microbial risk can affect filters, emitters, soil, plants and intended produce use.
The landscape section maps soil, infiltration, slope, runoff, wind, sun, frost pockets, plant types and future growth. The infrastructure section locates buildings, paths, roads, walls, services, drains, power, tanks and safe maintenance access. The people section names who will operate, inspect and respond when a zone fails.
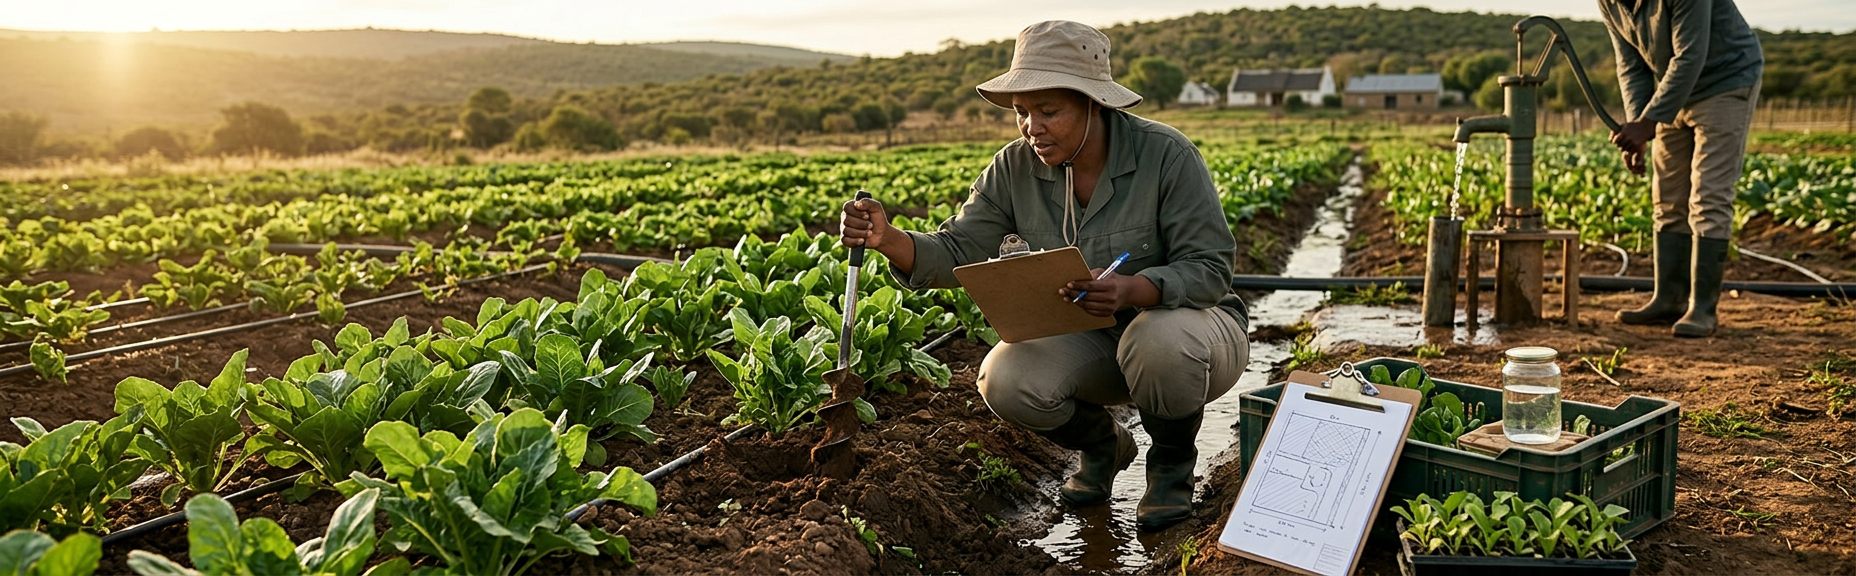
Build an evidence pack while walking the site: dated photographs, a scaled sketch, measurement notes, water-source documents, plant inventory and a short list of unresolved questions. Record the season and recent weather. A slope that looks dry in winter may carry stormwater in summer; a tree that casts little shade now may control the bed's light later. The pack helps designers explain why a decision was made and gives operators a baseline for later changes.
End the walk with a short risk register. Give each unresolved issue an owner, evidence needed and decision date. Examples include confirming borehole authorisation, testing saline-looking water, locating buried services or checking pump performance. A design should not quietly convert an open risk into a hidden assumption.
Gathering a number is not enough: use the bucket flow test and the static-versus-dynamic pressure guide to understand what each observation can and cannot prove.
The 24-point irrigation site assessment
<p>Mark each point as measured, verified, observed, unknown or not applicable. An unknown is a task—not a reason to guess.</p>
- Source type, owner and legal or contractual authority are recorded.
- Seasonal reliability, outages and competing uses are documented.
- The proposed connection, isolation and backflow questions are identified.
- Flow is measured more than once under relevant conditions.
- Static and working pressure are recorded with the test location.
- Elevation changes between source and highest or lowest zones are mapped.
- Water-quality risks and any need for testing are noted.
- Tank, pump, filtration, power and protection constraints are mapped.
- Usable planting area is measured after paths and access are allowed.
- Plants are grouped by type, water need, age and expected mature size.
- Soil texture, compaction, rooting depth and infiltration are observed.
- Slope, runoff routes, ponding and erosion evidence are marked.
- Morning and afternoon sun, shade and heat-reflecting surfaces are recorded.
- Wind exposure and likely spray drift are assessed.
- Frost, heat and seasonal planting changes are considered.
- Buildings, paths, roads and no-spray boundaries are drawn.
- Known underground and overhead services are located before digging.
- Valve, filter, controller and flush points will remain accessible.
- Drainage from leaks, flushing and maintenance has a safe destination.
- Vehicle, mower, animal, vandalism and theft risks are considered.
- A named operator and backup have realistic inspection time.
- Future phases and spare capacity are stated rather than assumed.
- The budget includes commissioning, training, spares and maintenance.
- No final equipment list is approved while critical inputs remain unknown.
Turn observations into design decisions
| Finding | Possible design consequence | Do not assume |
|---|---|---|
| Large elevation change | Separate zones, pressure management or pump review may be needed | One gauge reading represents the whole property |
| Sandy soil with rapid infiltration | Shorter or more frequent application may suit some crops | A national run-time chart replaces root-zone checks |
| Clayey or compacted area | Lower application rate, cycle-and-soak or soil improvement may be needed | Longer run time will force water deeper |
| Sediment or variable source | Filtration, flushing and monitoring become central | A filter type can be selected without water characterisation |
| Mixed lawn, vegetables and trees | Hydrozoning and different methods or schedules are likely | One controller programme suits every plant |
Assessment before equipment
- Map source, hydraulics, water quality, land, plants and people as one system.
- Label unknowns and assign a way to verify them.
- Measure under relevant working conditions, not only at rest.
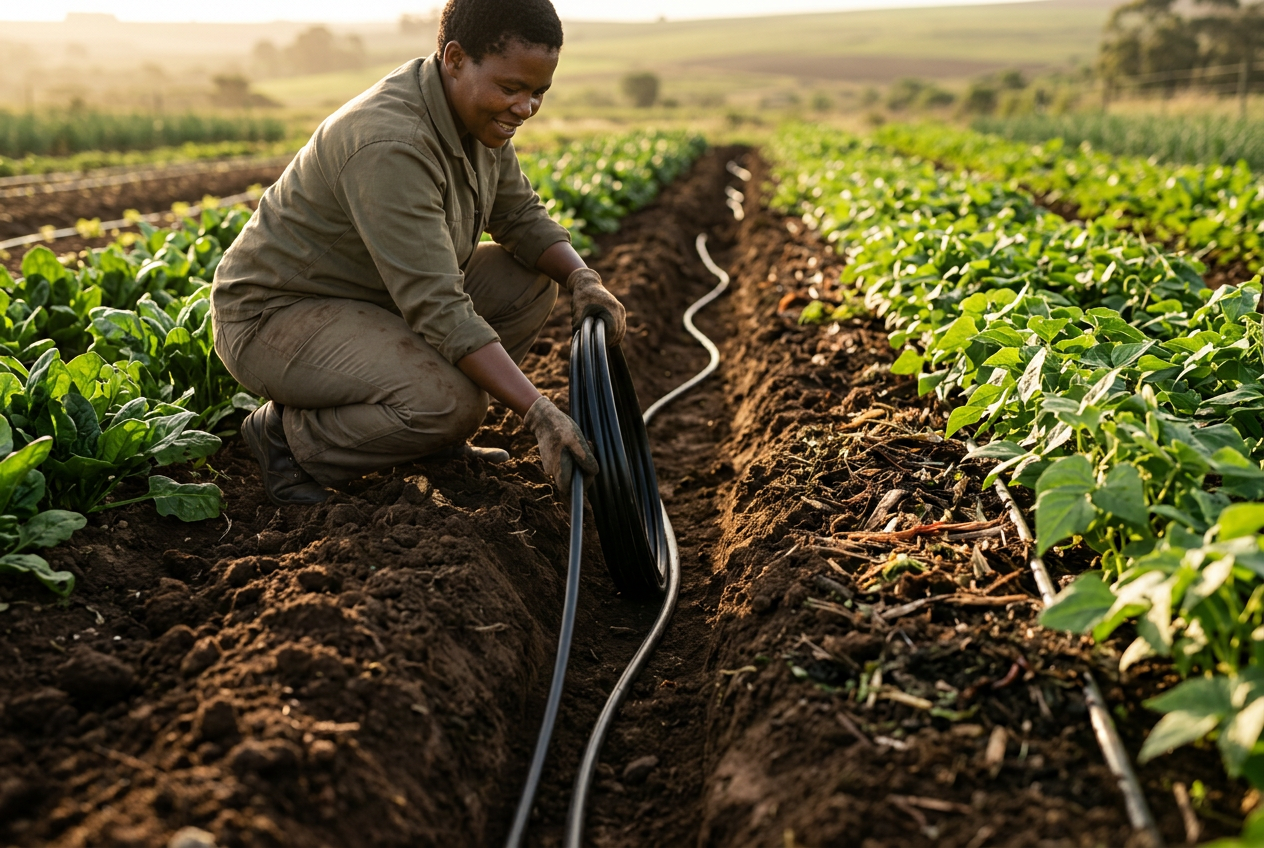
- Protect access for operation, flushing and repair.
Have the whole water-to-root pathway assessed
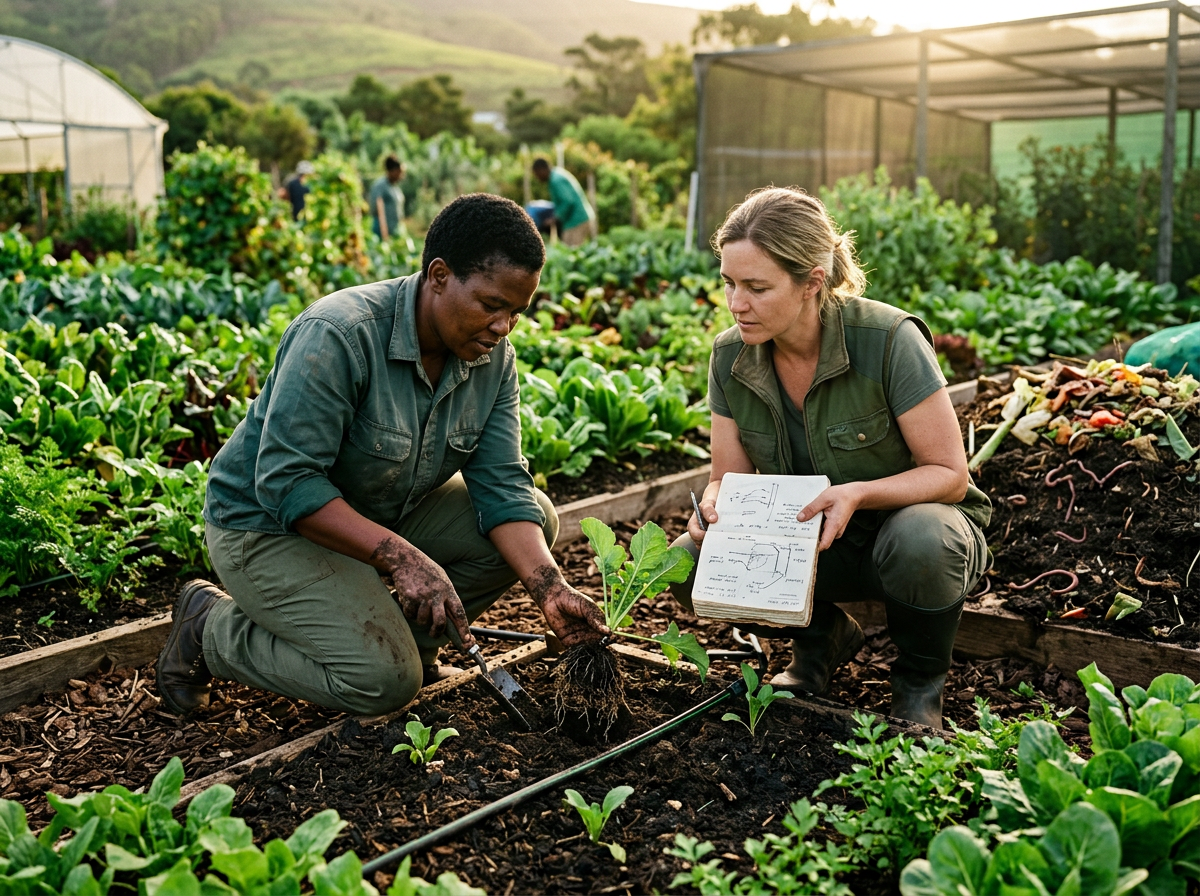
Green Earth Concepts can document site constraints, group planting zones and identify the measurements or specialist inputs needed before equipment is specified. You receive a clearer basis for phasing, budgeting and choosing a maintainable system.
Site-assessment questions
Can I assess the site myself?
You can collect dimensions, plant information, photographs and basic flow observations. Use a qualified professional when pressure, pumps, electrical work, backflow protection, water quality, authorisation, complex elevation or substantial investment is involved.
Should the assessment happen in one visit?
A first visit is useful, but repeat evidence improves the design. Pressure and flow can vary, shade changes by season, and drainage is easier to understand after rain or a controlled test.
Is a quote the same as a design?
Not necessarily. A quote lists items and prices. A design should connect measured constraints, zone demand, component requirements, layout, commissioning tests and operating responsibilities.
A checklist makes assumptions visible
The assessment does not need to answer every technical question on day one. It must show which answers are verified, which are provisional and which could change the design. That discipline is worth more than a trolley of fittings bought too early.